Web Scraping and Puppeteer: How to easily track changes to web pages? A Guide to Data Automation
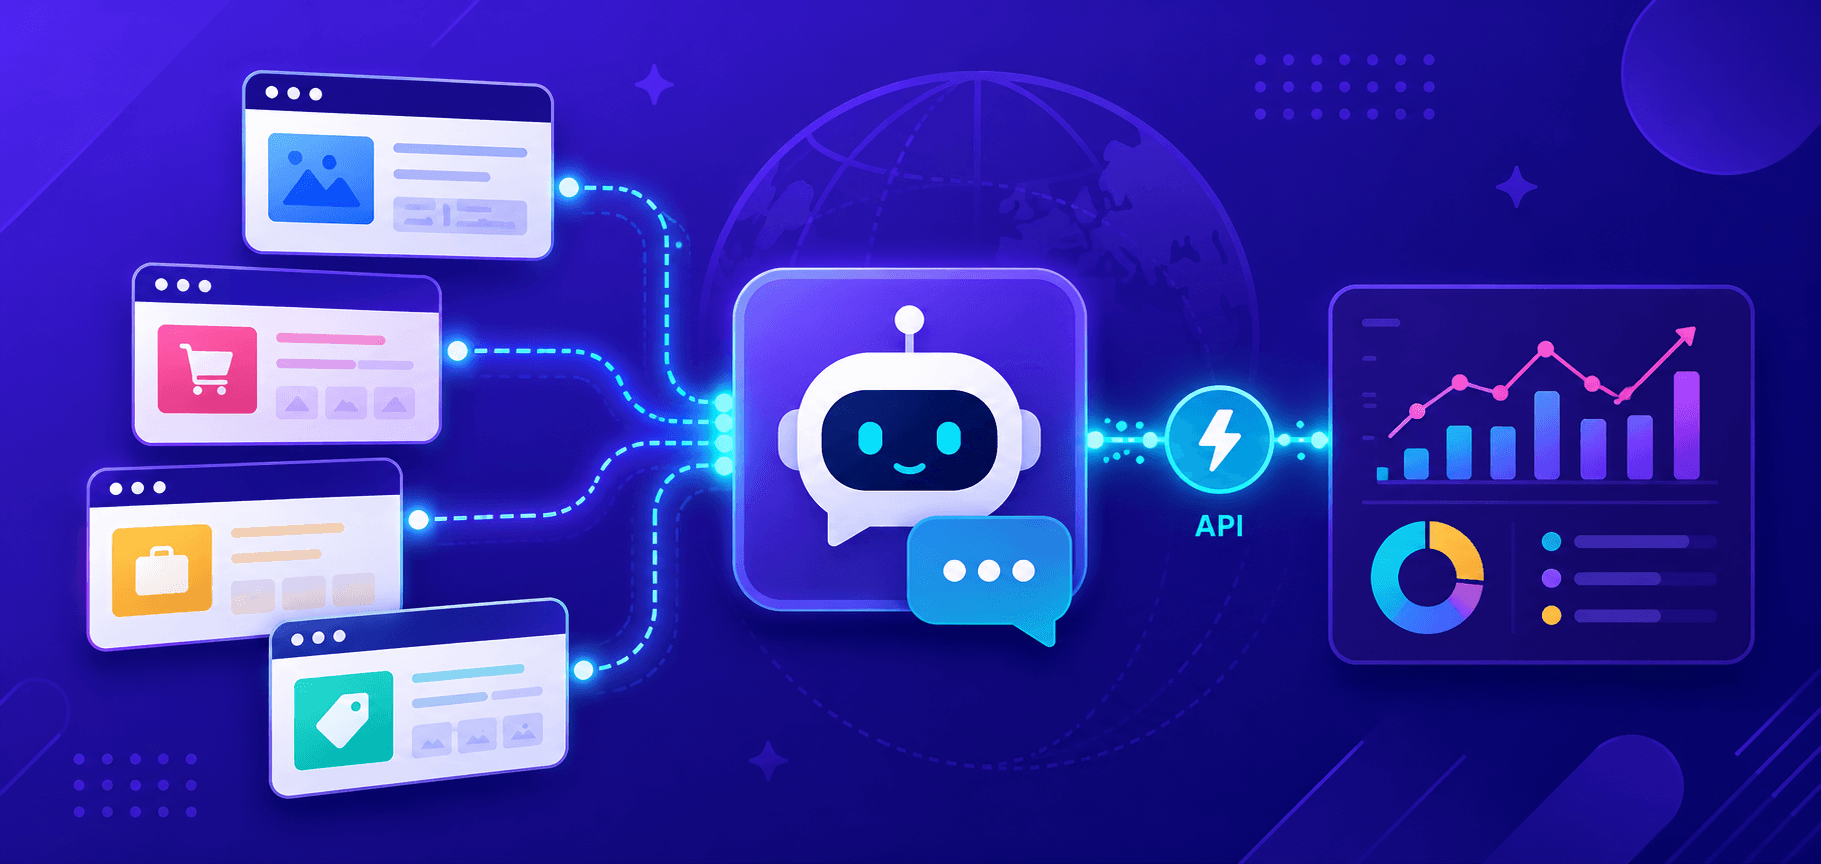
Web scraping is an easy and convenient way to automatically collect data from web pages. Instead of manually copying information, special programs do it for you, extracting the data you need from the content of the site. Web scraping saves time, simplifies routine tasks, and allows you to stay on top of changes in real time.
- The program enters the site as a normal user;
- It "reads" the page code and finds the necessary elements - text, images, links or tables;
- The resulting data is saved so that it can be analyzed or used further.
This is especially useful when there is a lot of information, it is constantly changing or is not presented in a convenient way.
Internet is changing every minute, and it is very difficult to keep track of everything manually, and it is not necessary, when there is an opportunity to use automation. Here are examples of why you need it:
- Price Changes
Imagine you are looking for the best deals in online stores. The prices of products can change depending on the time of day, season or competitors' activity. Web scraping will help you quickly find out where the lowest prices are or adjust the cost of your goods in time.
- Availability of goods
If you want to buy a popular item that is often in short supply, the script will help you track when it is available again. It's useful for businesses to understand what suppliers have in stock.
- News & Updates
Tracking the latest news, publications or changes on important pages will help you stay up to date. For example, you can set up to collect information from news sites or blogs.
- Competitor Monitoring
Businesses need to know what their competitors are doing: what promotions they are running, what new things they have added to their assortment, what reviews they are getting. Web scraping can easily accomplish this task.
Modern websites often upload data not immediately, but as the user takes action - for example, reviews, ratings or statistics. Manual collection of such data is time-consuming, while automation will do it all in seconds.

To collect information from websites you need convenient and reliable tools. Among them, Puppeteer is a library for Node.js, which allows you to simulate the actions of a real user: open pages, click on elements, fill out forms and even take screenshots - all in a fully automatic mode.
Web scraping with Puppeteer becomes much easier, especially when it comes to dynamic sites where content is loaded using JavaScript. Puppeteer not only "sees" what the user sees, but also allows you to interact with that content on a deeper level, making it ideal for data collection, site testing, and automating tasks of any complexity. If you work with JavaScript and TypeScript, Puppeteer is a great choice for web scraping and many other tasks!
The key benefits that make it so popular:
- Working with dynamic content
Common scraping tools (e.g. Axios, Cheerio) often have trouble handling sites where content is loaded dynamically with JavaScript. Puppeteer, on the other hand, does a great job with this! It runs a full-fledged browser (Google Chrome or Firefox), allowing you to load pages just like a real user would. This means that all content, even that which appears after scripts are executed, becomes available for analysis and data collection.
- Element Manipulation
Easily interact with the DOM - add or remove elements, click buttons, fill out forms, scroll pages, and more.
- Headless-mode
Puppeteer allows you to control your browser in both normal and headless mode (no GUI).
Headless-mode - ideal for fast and discreet automation: the browser runs "in the background", saving resources and speeding up tasks.
Full Browser Mode - useful for debugging and development: you can visually observe what is happening on the page.
- Device Emulation
Puppeteer can also simulate devices by changing the user-agent header, which helps bypass blocking and restricted sites. You can even simulate network modes such as 3G or Wi-Fi to test page performance.
- Screenshots and PDF creation
You can take snapshots of pages or save them as PDF files. This is useful for creating reports, documenting web content, or testing.
We will discuss all these advantages in detail in the following sections.
So Puppeteer is not just a scraping tool, but a universal helper for any browser automation related tasks. Let's get to the installation of Puppeteer and get acquainted with its capabilities in practice:
- The library is very easy to install. First, make sure you have Node.js installed (official site).
- And then open a terminal or command prompt and run the npm command:
npm i puppeteerThis command automatically downloads the latest version of Chromium. If Chromium is already installed or you want to use a different browser, you can install Puppeteer without it:
npm i puppeteer-core
Puppeteer provides a wide range of features to automate your web pages. It not only allows you to change the content of pages by manipulating the DOM (Document Object Modelthe structure of a web page through which elements and data can be manipulated), but also mimic user actions. Let's look at how to put these features into practice.
Miscellaneous DOM actions
Puppeteer allows:
- Add or remove elements.Use methods evaluate() to execute JavaScript code in the context of the page.
await page.evaluate(() => {

     const newElement = document.createElement('div');

    newElement.textContent = 'New element!';

    document.body.appendChild(newElement);   // Add element to DOM

});- Change page content.You can easily change the text, attributes, or styles of elements:
await page.evaluate(() => {

    document.querySelector('h1').textContent = 'Updated header';

});
Imitating user actions
Puppeteer can emulate user actions, this is especially useful for testing and scraping data from interactive sites.
- Clicks and scrolling:
await page.click('button#submit');  // Click on the button with id "submit"

await page.evaluate(() => window.scrollBy(0, 1000)); // Scroll down- Text input and form filling:
await page.type('input[name="username"]', 'myUsername');  // Enter text in the field

await page.type('input[name="password"]', 'myPassword');

await page.click('button[type="submit"]'); // Submit form- Automatic navigation. Puppeteer can navigate between pages, track loading, and interact with new elements:
await page.goto('https://example.com');

await page.waitForSelector('h1');  // Wait for the header to appear
Working with Dynamic Sites
Many modern websites use JavaScript to load content asynchronously. Puppeteer can easily handle such tasks:
- Waiting for items to appearbefore interacting with them:
await page.waitForSelector('.dynamic-element');- Working with asynchronously loaded elements. When scraping data, it is important to properly handle elements that appear later.
await page.waitForFunction((() => {

    return document.querySelector('.loaded-content') !== null;

});For efficient and correct web scraping using Puppeteer, you need to consider various parameters and settings that will help improve the performance, accuracy and stability of the process. Let's take a look at the key parameters that can be used in projects:
- Headless-mode. Puppeteer can run in headless (without interface) or headful (with interface) mode.
const browser = await puppeteer.launch({ headless: true }); // Default true- Customize window sizes and user agents:
const browser = await puppeteer.launch({

    args: ['--window-size=1920,1080']

});

const page = await browser.newPage();

await page.setViewport({ width: 1920, height: 1080 });- Change User-Agent (helps avoid blocking and mimic different devices):
await page.setUserAgent('Mozilla/5.0 (Windows NT 10.0; Win64; x64) AppleWebKit/537.36 (KHTML, like Gecko) Chrome/131.0.0.0.0 Safari/537.36');- Waiting for required elements to load:
await page.waitForSelector('.dynamic-element', { visible: true });- Waiting Navigation (useful for tracking transitions between pages):
await Promise.all([

     page.waitForNavigation(),

    page.click('a#next-page')  // Clicking and waiting for navigation

]);- Disabling graphic elements (saves resources and speeds up script execution):
const browser = await puppeteer.launch({

    args: ['--disable-gpu', '--no-sandbox']

});- Device emulation:
const iPhone = puppeteer.devices['iPhone X'];

await page.emulate(iPhone);- Use proxy:
const browser = await puppeteer.launch({

     args: ['--proxy-server=your-proxy-address']

});- Cookie and session management:
const cookies = [{ { name: 'session', value: 'abc123', domain: 'example.com' }];

await page.setCookie(....cookies);- Bypassing anti-bot systems (Puppeteer-extra and plugins help bypass automation protection):
npm install puppeteer-extra puppeteer-extra-plugin-stealthconst puppeteer = require('puppeteer-extra');
const stealthPlugin = require('puppeteer-extra-plugin-stealth');
puppeteer.use(stealthPlugin());Parameters for data collection and change monitoring:
- Get text and element attributes:
const title = await page.$eval('h1', element => element.textContent);- To track changes, use MutationObserver (a JavaScript object embedded in the browser that allows you to track and react to changes in the DOM, such as adding or removing elements, changing attributes or document structure):
await page.exposeFunction('onMutation', (mutations) => {

     console.log('DOM has changed:', mutations);

});

await page.evaluate(() => {

     const observer = new MutationObserver((mutations) => {

         window.onMutation(mutations);

     });

     observer.observe(document.body, { childList: true, subtree: true });

});Now, applying the knowledge of Puppeteer's basic parameters, especially in the context of web scraping, let's create a simple code sample that will demonstrate the operation of all the mentioned features on a test site Books to Scrape. Let's try to get information about books:
const puppeteer = require('puppeteer');


(async () => {

   // Start browser with additional parameters for optimization and emulation

     const browser = await puppeteer.launch({

         headless: false,   // Opening browser with interface

        args: ['--no-sandbox'],  // Additional arguments to improve performance

         defaultViewport: { // Set browser window size

             width: 1280,

             height: 800

          }

     });


     const page = await browser.newPage();


   // Install the user agent (browser emulation)

     await page.setUserAgent('Mozilla/5.0 (Windows NT 10.0; Win64; x64) AppleWebKit/537.36 (KHTML, like Gecko) Chrome/131.0.0.0.0 Safari/537.36');


   // Go to the landing page

    await page.goto('https://books.toscrape.com/', { waitUntil: 'networkidle2' });  // Waiting for page to fully load


    // Waiting for elements on the page to load

    await page.waitForSelector('ol.row li');


   // Retrieve and output only book titles

    const bookTitles = await page.evaluate(() => {

         const bookElements = document.querySelectorAll('ol.row li h3 a');

         return Array.from(bookElements).map(book => book.getAttribute('title') || 'No title');

     });


   // Output each name with list numbering

     console.log('Book titles:');

     bookTitles.forEach((title, index) => console.log(`${index + 1}. ${title}`));


     // Emulate clicking on the first book to demonstrate user actions

    await page.click('ol.row li h3 a');

     await new Promise(resolve => setTimeout(resolve, 1000));   // Waiting for the book page to load


    // DOM manipulation: change page title

     await page.evaluate(() => {

         document.querySelector('h1').innerText = 'Header changed with Puppeteer!';

     });


   // Create a screenshot of the page after DOM change

     await page.screenshot({ path: 'book_page.png', fullPage: true });


   // Generate a PDF document from the current page

     await page.pdf({ path: 'book_page.pdf', format: 'A4' });


   // Monitoring changes on the page using MutationObserver

     await page.evaluate(() => {

         const targetNode = document.body;

         const observer = new MutationObserver((mutationsList) => {

              for (let mutation of mutationsList) {

                  console.log('A change has been detected:', mutation);

             }

          });

         observer.observe(targetNode, { childList: true, subtree: true, attributes: true });

     });


    await browser.close();

})()();
Separate code to track changes to the page (e.g., price updates or product availability) using the above MutationObserver:
const puppeteer = require('puppeteer');


(async () => {

     const browser = await puppeteer.launch({ headless: true });

    const page = await browser.newPage();


    await page.goto('https://books.toscrape.com/');


    // Export function for passing data from browser to Node.js

     await page.exposeFunction('onMutation', (mutations) => {

        mutations.forEach(mutation => {

             console.log('Change:', mutation); // Log the changes

          });

     });


   // Implement MutationObserver on the page

     await page.evaluate(() => {

        const targetNode = document.querySelector('.row'); // Observe the container with the list of books


         const config = { childList: true, subtree: true, attributes: true }; // Observation Settings

         const observer = new MutationObserver((mutationsList) => {

             window.onMutation(mutationsList.map(mutation => ({ {

                   type: mutation.type,

                  addedNodes: Array.from(mutation.addedNodes).map(node => node.outerHTML),

                removedNodes: Array.from(mutation.removedNodes).map(node => node.outerHTML)

              })));

          }));

         observer.observe(targetNode, config);

     });


     // Simulate interaction to create changes (e.g., page refresh)

    await page.click('li.next a');  // Go to the next page to demonstrate the changes


    // Wait for MutationObserver to catch the changes

      await new Promise(resolve => setTimeout(resolve, 5000));

     await browser.close();

})()();
Code parsing:
Expose Function. Method page.exposeFunction() allows you to create a function onMutation(), which will pass change data from the browser to the Node.js environment.
MutationObserver.B page.evaluate()we implement MutationObserver on the page. It tracks changes to the specified element (.row) where the books are located.
configdefines what changes to track:
childList: adding or removing children.
subtree: supervision of all children.
attributes:changes to element attributes.
Actions on changes. When changes are detected, the data is passed to the onMutation function, and the added or removed items are displayed in the console.
Detect hidden API sites
Many websites use internal APIs to load data dynamically. These requests are often hidden from normal users, but Puppeteer helps you discover them.
- DevTools. Use tab Network in browser developer tools to track requests. Puppeteer can programmatically run DevTools proxy:
await page.setRequestInterception(true);

page.on('request', request => {

     console.log(request.url());

    request.continue();

});- Analysis of XHR requests. Puppeteer captures all XHR requests and makes it easy to see what data is returned.
Puppeteer: ideal for complex sites that require simulation of user actions or handling JavaScript dynamics.
API: best used for structured data (like JSON) and fast loading. If the site provides an official API, this is a more efficient and legitimate way to collect information.
Monitoring using Puppeteer can be augmented with notifications to receive alerts when important changes occur:
- Use WebSockets or Webhooks: sending data to a server or messenger (e.g., Slack).
- Mail Integration:sending email when changes are detected.
Example of monitoring and notifications using Puppeteer:
const puppeteer = require('puppeteer');

const nodemailer = require('nodemailer');


(async () => {

     const browser = await puppeteer.launch({ headless: true });

    const page = await browser.newPage();

    await page.goto('https://example.com');


   // Change monitoring

     const initialContent = await page.content();


     setInterval(async () => {

         const currentContent = await page.content();

         if (currentContent !== initialContent) {

          // Send notification

             sendEmail('Change on site!', 'Content has been updated.');

          }

     }, 30000);  // Check every 30 seconds


     async function sendEmail(subject, text) {

         let transporter = nodemailer.createTransport({ /* SMTP settings */ });

         await transporter.sendMail({ from: 'your_email', to: 'notify_email', subject, text });

     }


    await browser.close();

})();Websites often use captchas to protect against automated data collection. Puppeteer allows you to integrate an effective tool to automatically bypass different types of captchas CapMonster Cloudto solve them:
- Installing the official library:
npm i @zennolab_com/capmonstercloud-client- An example of extracting dynamic captcha data from Amazon and solving it using CapMonster Cloud:
const puppeteer = require('puppeteer');

const { CapMonsterCloudClientFactory, ClientOptions, AmazonProxylessRequest } = require('@zennolab_com/capmonstercloudclient');


(async () => {

  const browser = await puppeteer.launch({ headless: false }); // Set true for headless mode

  const page = await browser.newPage();


  const pageUrl = 'https://example.com'; // URL of the captcha page

  await page.goto(pageUrl);


  // Retrieve CAPTCHA parameters from the web page

  const captchaParams = await page.evaluate(() => {

     const gokuProps = window.gokuProps || {};

    const scripts = Array.from(document.querySelectorAll('script'));


     return {

      websiteKey: gokuProps.key || "Not found",

      context: gokuProps.context || "Not found",

      iv: gokuProps.iv || "Not found",

      challengeScriptUrl: scripts.find(script => script.src.includes('challenge.js'))?.src || "Not found",

       captchaScriptUrl: scripts.find(script => script.src.includes('captcha.js'))?.src || "Not found"?

     };

  });

  console.log('Captcha Parameters:', captchaParams); // Check the extracted parameters

  // Create a task to be sent to the CapMonster Cloud server

  const cmcClient = CapMonsterCloudClientFactory.Create(new ClientOptions({

     clientKey: 'your_api_key', // Replace with your CapMonster Cloud API key

  })));


  // Customize the query for solving captcha

  const amazonProxylessRequest = new AmazonProxylessRequest({

     websiteURL: pageUrl,

    challengeScript: captchaParams.challengeScriptUrl,

     captchaScript: captchaParams.captchaScriptUrl,

     websiteKey: captchaParams.websiteKey,

     context: captchaParams.context,

     iv: captchaParams.iv,

     cookieSolution: false,

  });

  // CAPTCHA Solution

  const response = await cmcClient.Solve(amazonProxylessRequest);

  if (!response?.solution) {

    console.error('CAPTCHA not solved.');

    await browser.close();

    process.exit(1);

  }

  console.log('Captcha Solved:', response.solution);

  await browser.close();

  console.log('DONE');

  process.exit(0);

})()

.catch(err => {

  console.error(err);

  process.exit(1);

});It's important to remember ethical norms and comply with established rulesto ensure that web scraping is legal and safe. Key principles of responsible web scraping:
- Robots.txt: check the directives of the file robots.txt file, which determines which pages can be scraped and which cannot:
Allow: /public/Disallow: /admin/
Disallow: /private/You can find this file manually through your browser (e.g.: https://example.com/robots.txt) or using Puppeteer:
const puppeteer = require('puppeteer');

(async () => {

  const browser = await puppeteer.launch();

  const page = await browser.newPage();

  // URL of robots.txt file

  const robotsUrl = 'https://example.com/robots.txt';

  await page.goto(robotsUrl);


  // Get the text of robots.txt

  const robotsText = await page.evaluate(() => document.body.innerText);

  console.log('Contents of robots.txt:\n', robotsText;)

  await browser.close();
})();- It is necessary to limit the frequency of requests so as not to overload the server. Use delays between requests (await page.waitForTimeout(3000);).
- Legal aspects:
Compliance with the laws of the country, make sure that scraping does not violate local laws.
Do not publish copyrighted data without permission.
Some sites require explicit permission to collect data.
Now, we have broken down the main features of Puppeteer for web scraping and can now conclude that it is an effective way to automate data collection from web pages, saving time and providing access to relevant information in real time. The tool makes it easy to work with dynamic content, emulate user actions and various DOM manipulations.
The article contains code samples demonstrating data extraction and working with dynamic content. These examples will help you learn web scraping faster and adapt them to your needs.
Also, integration with CapMonster Cloud is a key aspect that greatly enhances the efficiency of data collection, especially when faced with web pages protected by various types of captcha. The captcha solution often becomes an obstacle for automated systems, making it difficult to access data - in such cases, CapMonster Cloud provides the ability to bypass these protections with high speed and accuracy.
Puppeteer is useful for tasks that require high accuracy, such as price monitoring or news tracking. The use of headless-mode and flexible configuration helps to optimize your work.
Puppeteer is not only a scraping tool, but also a versatile solution for testing and various automation tasks. We hope this review will help you get started and inspire you to create your own automation solutions!"
NB: As a reminder, the product is used to automate testing on your own sites and on sites to which you have legal access.