How to Set Up and Use CapMonster Cloud MCP: A Detailed Guide
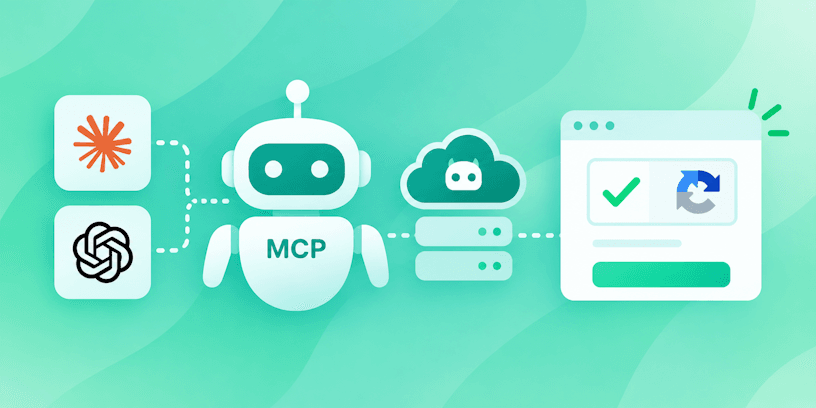
When you need to quickly test a service or check how CAPTCHA works on it, configuring every step manually can be quite time-consuming. With CapMonster Cloud MCP, you can hand part of this work over to an AI agent.
It can help identify the CAPTCHA type, determine the required parameters, send a task to CapMonster Cloud for solving, and verify the result directly in Claude Code, Codex, or another MCP-compatible application.

How CapMonster Cloud MCP Works
For the complete workflow, use two MCP servers:
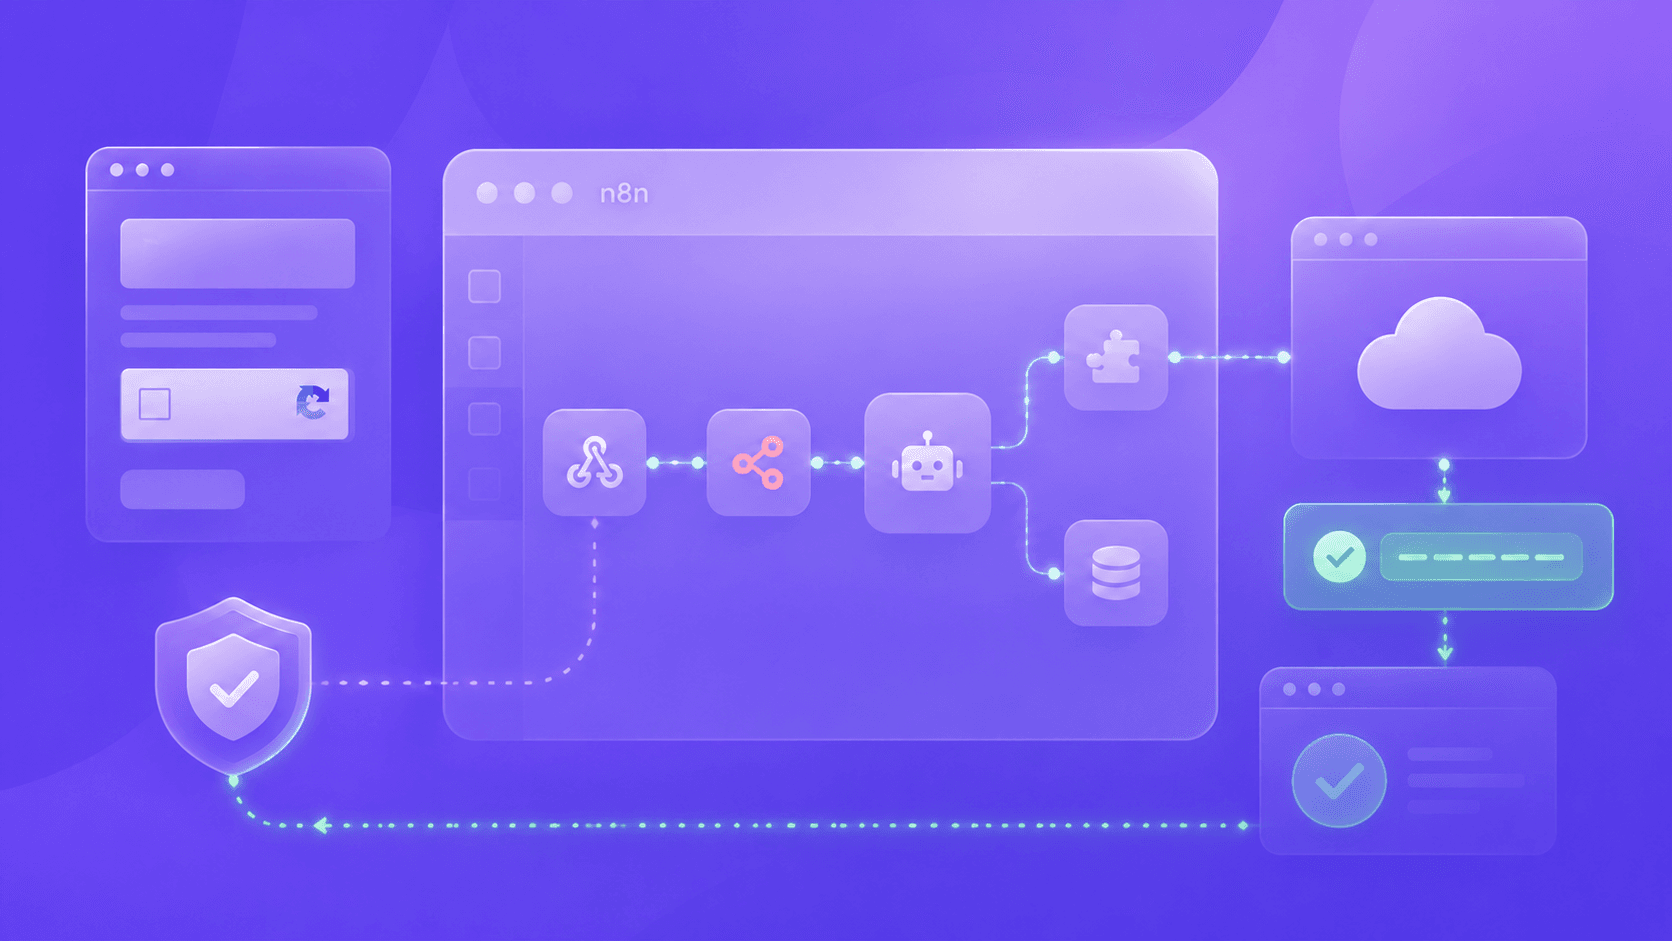
- capmonster – works with the CapMonster Cloud API: identifies supported task types and their parameters, creates tasks, and retrieves results;
- patchright – works with the browser: opens the page, helps retrieve CAPTCHA parameters, and applies the result.
Quick Start
For the initial setup, the easiest way is to use a ready-to-use prompt for your environment — Python / PyPI or TypeScript / npm.
Send it to Claude Code, Codex, or another compatible AI agent. The agent can detect the environment, connect capmonster and patchright, and then check that the tools are available.
Open the appropriate prompt, copy it, and send it to your AI agent.
If the task requires changing the MCP configuration, installing dependencies, running a command, or launching a browser, the agent may ask for the corresponding permission.
After the setup is complete, the agent will ask you to:
- provide the URL of the page with the CAPTCHA;
- specify whether the CAPTCHA is displayed directly on that page or appears after a certain action — such as a click, form submission, scrolling, or login;
- provide any additional conditions, if applicable: for example, whether a specific proxy, additional headers, or authentication is required, or whether the CAPTCHA appears only for certain regions or User-Agents.
Example: Detecting a CAPTCHA on a Test Page
Let's see how CapMonster Cloud MCP works in practice. As an example, we'll use a test page with reCAPTCHA V2:
https://lessons.zennolab.com/captchas/recaptcha/v2_simple.php?level=highThere is no need to look for the sitekey in advance, determine the task type, or collect the parameters manually. We'll simply give the agent the URL and ask it to handle the scenario on its own.
After setting up the MCP servers, send the agent a request like this:
Open the page:
https://lessons.zennolab.com/captchas/recaptcha/v2_simple.php?level=high

Identify the CAPTCHA type and the required parameters.
Create the appropriate task in CapMonster Cloud,
get the result, and apply it on the page.

After a successful check, show me
how to implement this scenario in the project code.
What the Agent Will Do
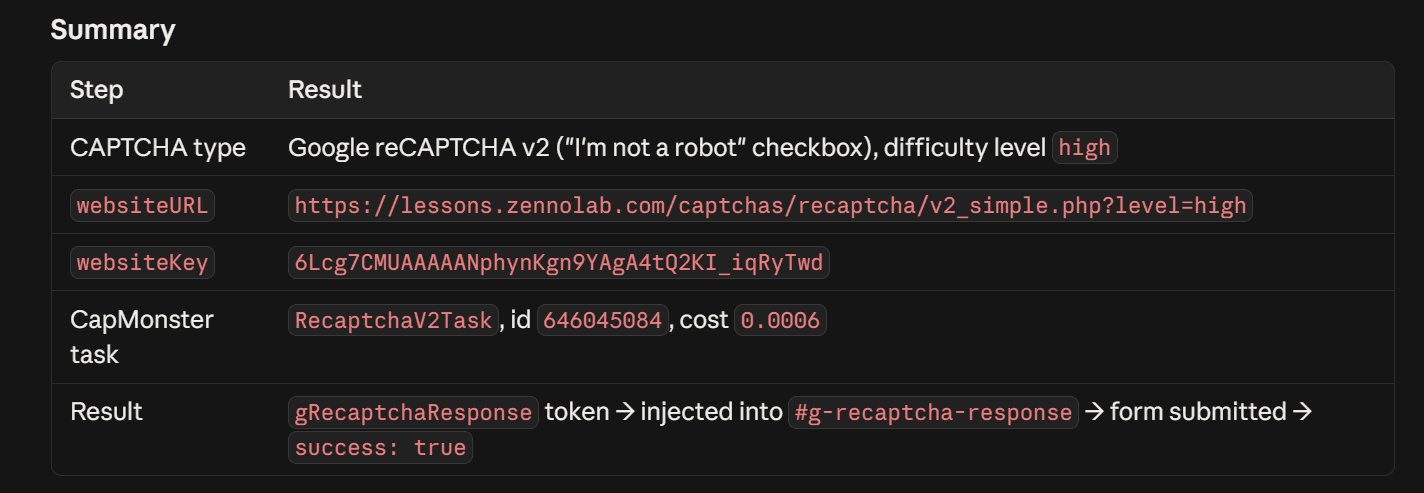
In this scenario, the agent uses patchright to work with the page and capmonster to interact with CapMonster Cloud.
- Open the page in the browser.
- Detect that the page uses reCAPTCHA V2.
- Retrieve the required CAPTCHA parameters directly from the page.
- Select the appropriate CapMonster Cloud task type and submit it for processing.
- Get the result and apply it on the page.
- Verify that the scenario works correctly.
Getting Integration Code
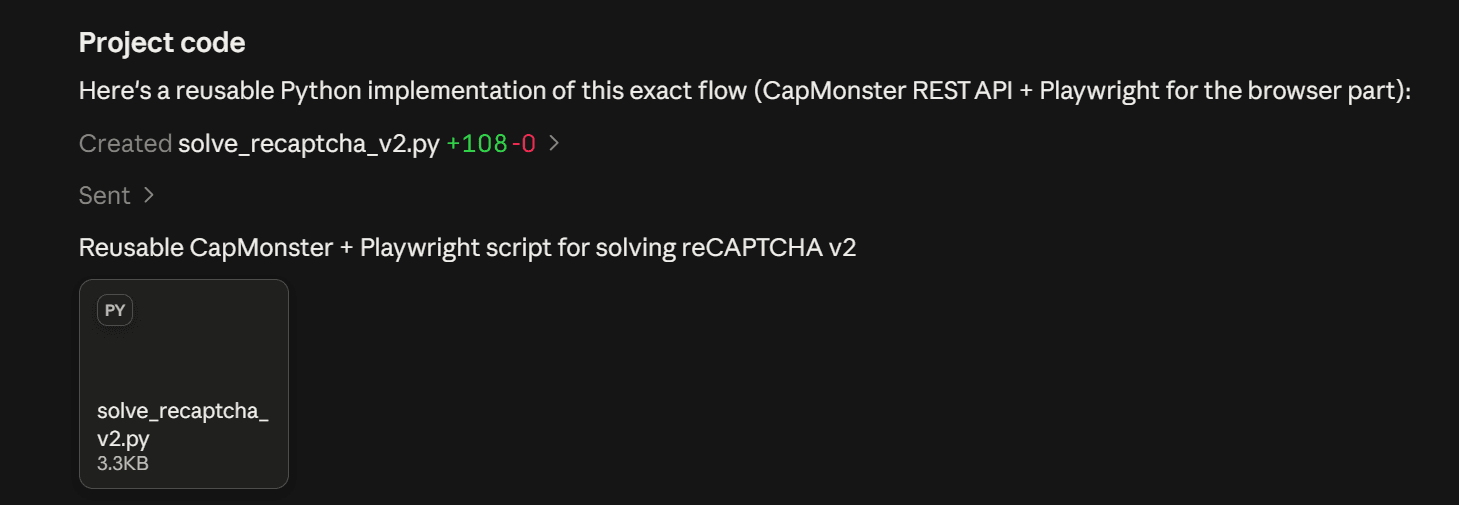
After successfully testing the scenario on the page, you can ask the agent to prepare code for your project.
For example:
The scenario works.
Now show me how to implement getting
and applying the CapMonster Cloud result
in my Python project.
Instead of Python, you can specify Node.js, TypeScript, or another language and stack used in your project.
Manual Setup and Running MCP Servers
You can also connect the servers manually – using terminal commands or the client configuration file.
For the complete workflow, both servers are used: capmonster and patchright.
capmonster also requires a CapMonster Cloud API key. It is passed through the CM_API_KEY environment variable.
Running Without Pre-Installing
You do not need to install the packages in advance. They can be run directly using npx or uvx.
TypeScript / npm:
npx -y capmonster-mcpPython / PyPI:
uvx capmonster-mcpBrowser MCP:
npx -y capmonster-mcp-patchrightIf you prefer to install the packages in advance, use the appropriate package manager.
npm:
npm i capmonster-mcp
npm i capmonster-mcp-patchright
PyPI:
pip install capmonster-mcpAfter installation, the packages can also be used in your project's MCP configuration.
Setting Up a CLI Agent
In CLI clients, the easiest way to add MCP servers is by using terminal commands.
Windows
For Claude Code with TypeScript / npm:
claude mcp add capmonster --env CM_API_KEY=YOUR_API_KEY -- npx.cmd -y capmonster-mcp
claude mcp add patchright -- npx.cmd -y capmonster-mcp-patchright
For Python / PyPI:
claude mcp add capmonster --env CM_API_KEY=YOUR_API_KEY -- uvx capmonster-mcpFor Codex CLI with TypeScript / npm:
codex mcp add capmonster --env CM_API_KEY=YOUR_API_KEY -- npx.cmd -y capmonster-mcp
codex mcp add patchright -- npx.cmd -y capmonster-mcp-patchright
For Python / PyPI:
codex mcp add capmonster --env CM_API_KEY=YOUR_API_KEY -- uvx capmonster-mcp
macOS / Linux
For Claude Code with TypeScript / npm:
claude mcp add capmonster --env CM_API_KEY=YOUR_API_KEY -- npx -y capmonster-mcp
claude mcp add patchright -- npx -y capmonster-mcp-patchright
For Python / PyPI:
claude mcp add capmonster --env CM_API_KEY=YOUR_API_KEY -- uvx capmonster-mcpFor Codex CLI with TypeScript / npm:
codex mcp add capmonster --env CM_API_KEY=YOUR_API_KEY -- npx -y capmonster-mcp
codex mcp add patchright -- npx -y capmonster-mcp-patchright
For Python / PyPI:
codex mcp add capmonster --env CM_API_KEY=YOUR_API_KEY -- uvx capmonster-mcp
Checking the Connection
After adding the servers, check that the client can see them.
/mcp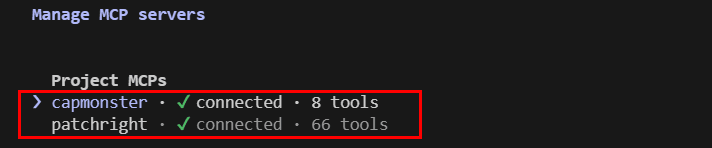
Setting Up via a Configuration File
If the client supports MCP configuration through a file, you can add the servers manually.
For example, for clients that use the mcpServers format:
{
  "mcpServers": {
    "capmonster": {
      "command": "npx",
      "args": ["-y", "capmonster-mcp"],
      "env": {
        "CM_API_KEY": "YOUR_API_KEY"
      }
    },
    "patchright": {
      "command": "npx",
      "args": ["-y", "capmonster-mcp-patchright"]
    }
  }
}
This format can be used, for example, for a Claude Code project configuration or a local Claude Desktop configuration.
[mcp_servers.capmonster]
command = "npx"
args = ["-y", "capmonster-mcp"]

[mcp_servers.capmonster.env]
CM_API_KEY = "YOUR_API_KEY"

[mcp_servers.patchright]
command = "npx"
args = ["-y", "capmonster-mcp-patchright"]
After saving the configuration, restart the client so it can detect the new MCP servers.
Setting Up Desktop Applications
If you prefer to work with an AI agent through a graphical application, MCP servers can also be connected in a Desktop client.
The setup principle is the same: connect capmonster, and for browser-based workflows – patchright. capmonster also requires a CapMonster Cloud API key.
Claude Desktop
In Claude Desktop, local MCP servers can be added through the claude_desktop_config.json configuration file.
Open the Claude Desktop developer settings (File → Settings → Developer → Edit config) and edit the configuration. Add the capmonster and patchright servers.
Windows:
{
  "mcpServers": {
    "capmonster": {
      "command": "npx.cmd",
      "args": ["-y", "capmonster-mcp"],
      "env": {
        "CM_API_KEY": "YOUR_API_KEY"
      }
    },
    "patchright": {
      "command": "npx.cmd",
      "args": ["-y", "capmonster-mcp-patchright"]
    }
  }
}
macOS / Linux:
{
  "mcpServers": {
    "capmonster": {
      "command": "npx",
      "args": ["-y", "capmonster-mcp"],
      "env": {
        "CM_API_KEY": "YOUR_API_KEY"
      }
    },
    "patchright": {
      "command": "npx",
      "args": ["-y", "capmonster-mcp-patchright"]
    }
  }
}
After saving the configuration, restart Claude Desktop.
After restarting, open a new chat and check that the MCP servers are available. To do this, click + and select Connectors:
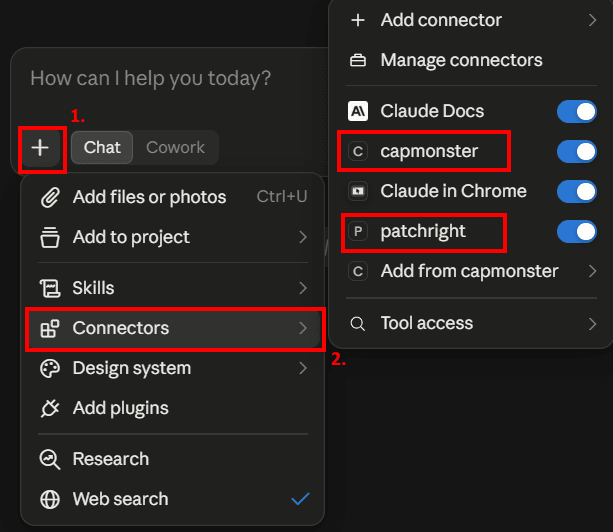
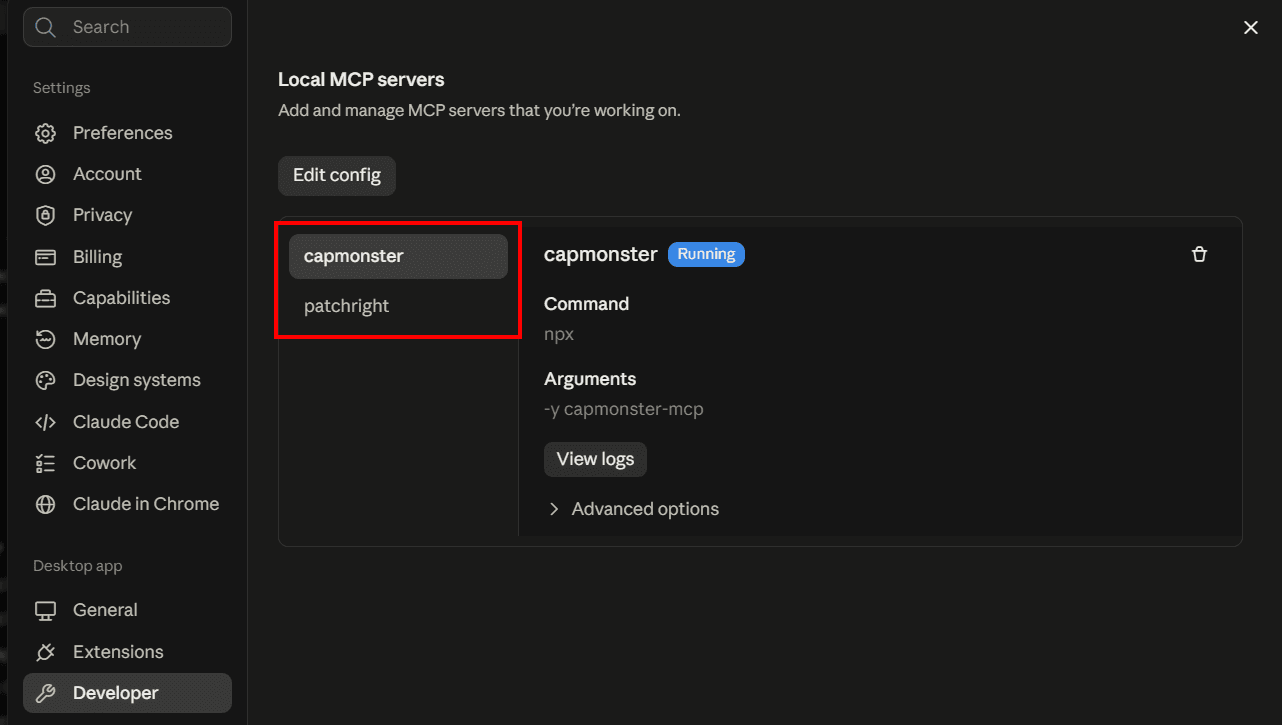
You can also view the connected servers and their available tools in the Claude Desktop interface.
ChatGPT Desktop / Codex
ChatGPT Desktop and Codex use the MCP configuration from the config.toml file. After adding the servers, the same configuration can be used in ChatGPT Desktop, Codex CLI, and the IDE extension.
The user configuration file is located at:
~/.codex/config.tomlFor a separate trusted project, you can use:
.codex/config.tomlHow to quickly open the user configuration file:
On Windows, press Win + R and enter:
%USERPROFILE%\.codexThen open the config.toml file. You can also open it through PowerShell:
notepad $env:USERPROFILE\.codex\config.tomlOn macOS / Linux, open a terminal and run:
nano ~/.codex/config.tomlAdd the capmonster and patchright server settings to config.toml.
Windows:
[mcp_servers.capmonster]
command = "npx.cmd"
args = ["-y", "capmonster-mcp"]

[mcp_servers.capmonster.env]
CM_API_KEY = "YOUR_API_KEY"

[mcp_servers.patchright]
command = "npx.cmd"
args = ["-y", "capmonster-mcp-patchright"]
macOS / Linux:
[mcp_servers.capmonster]
command = "npx"
args = ["-y", "capmonster-mcp"]

[mcp_servers.capmonster.env]
CM_API_KEY = "YOUR_API_KEY"

[mcp_servers.patchright]
command = "npx"
args = ["-y", "capmonster-mcp-patchright"]
Save the file and restart ChatGPT Desktop or Codex so the client can load the new MCP configuration.
If you have already added the servers to config.toml for Codex, you do not need to configure them again in ChatGPT Desktop — the applications use the same Codex MCP configuration on this computer.
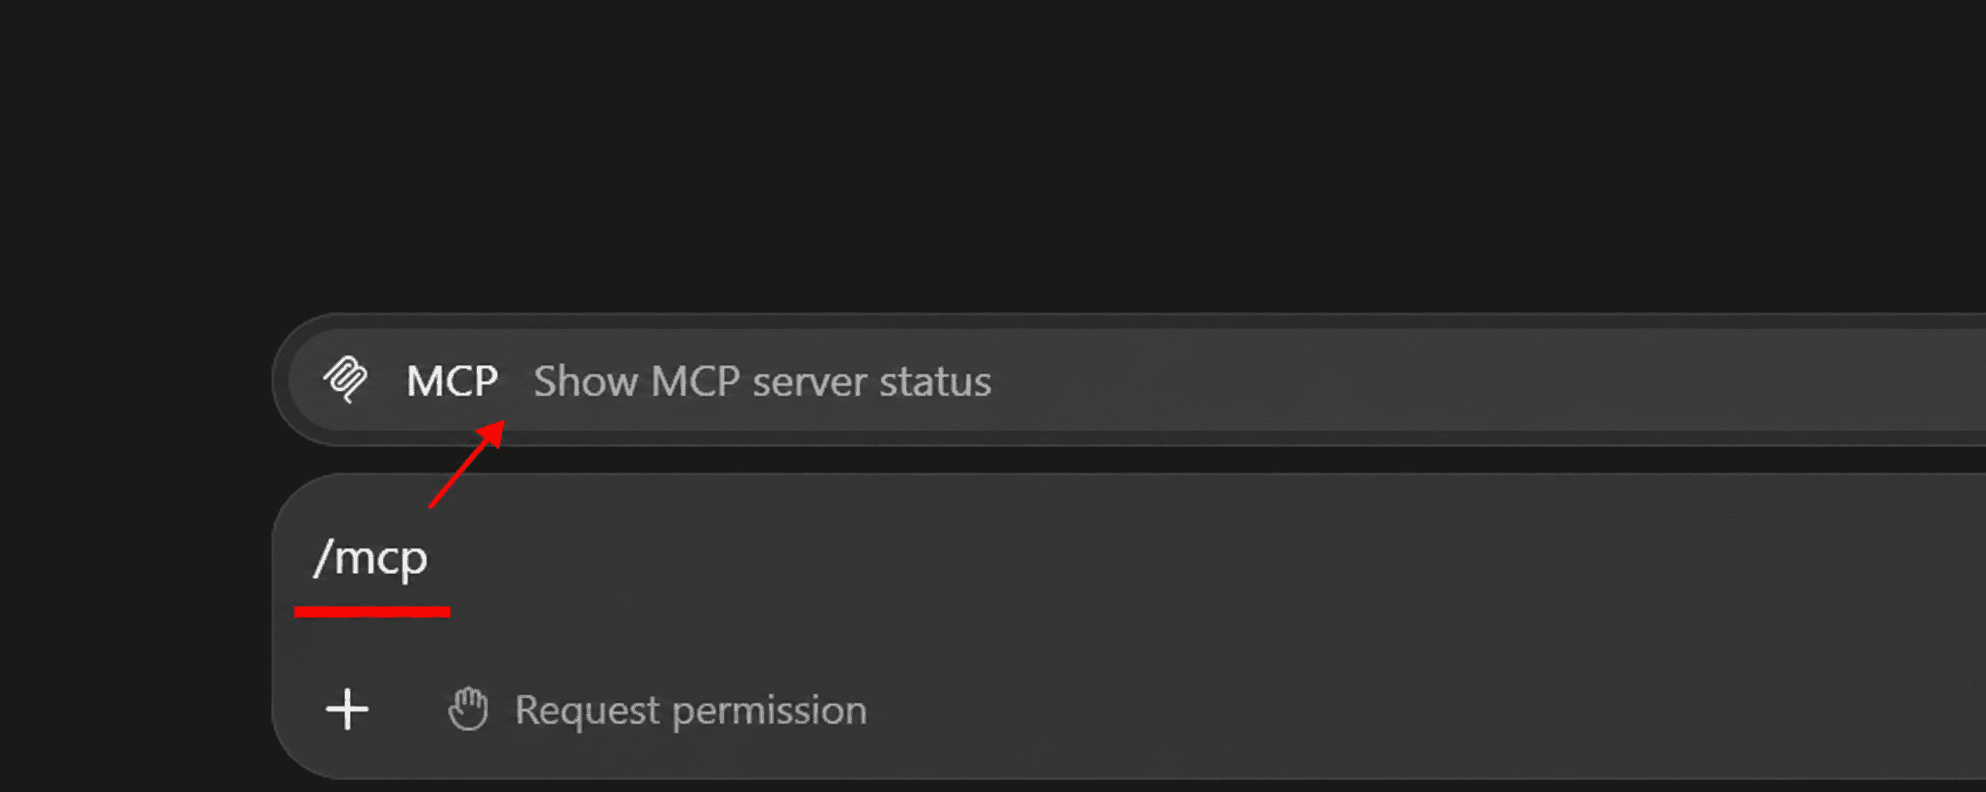
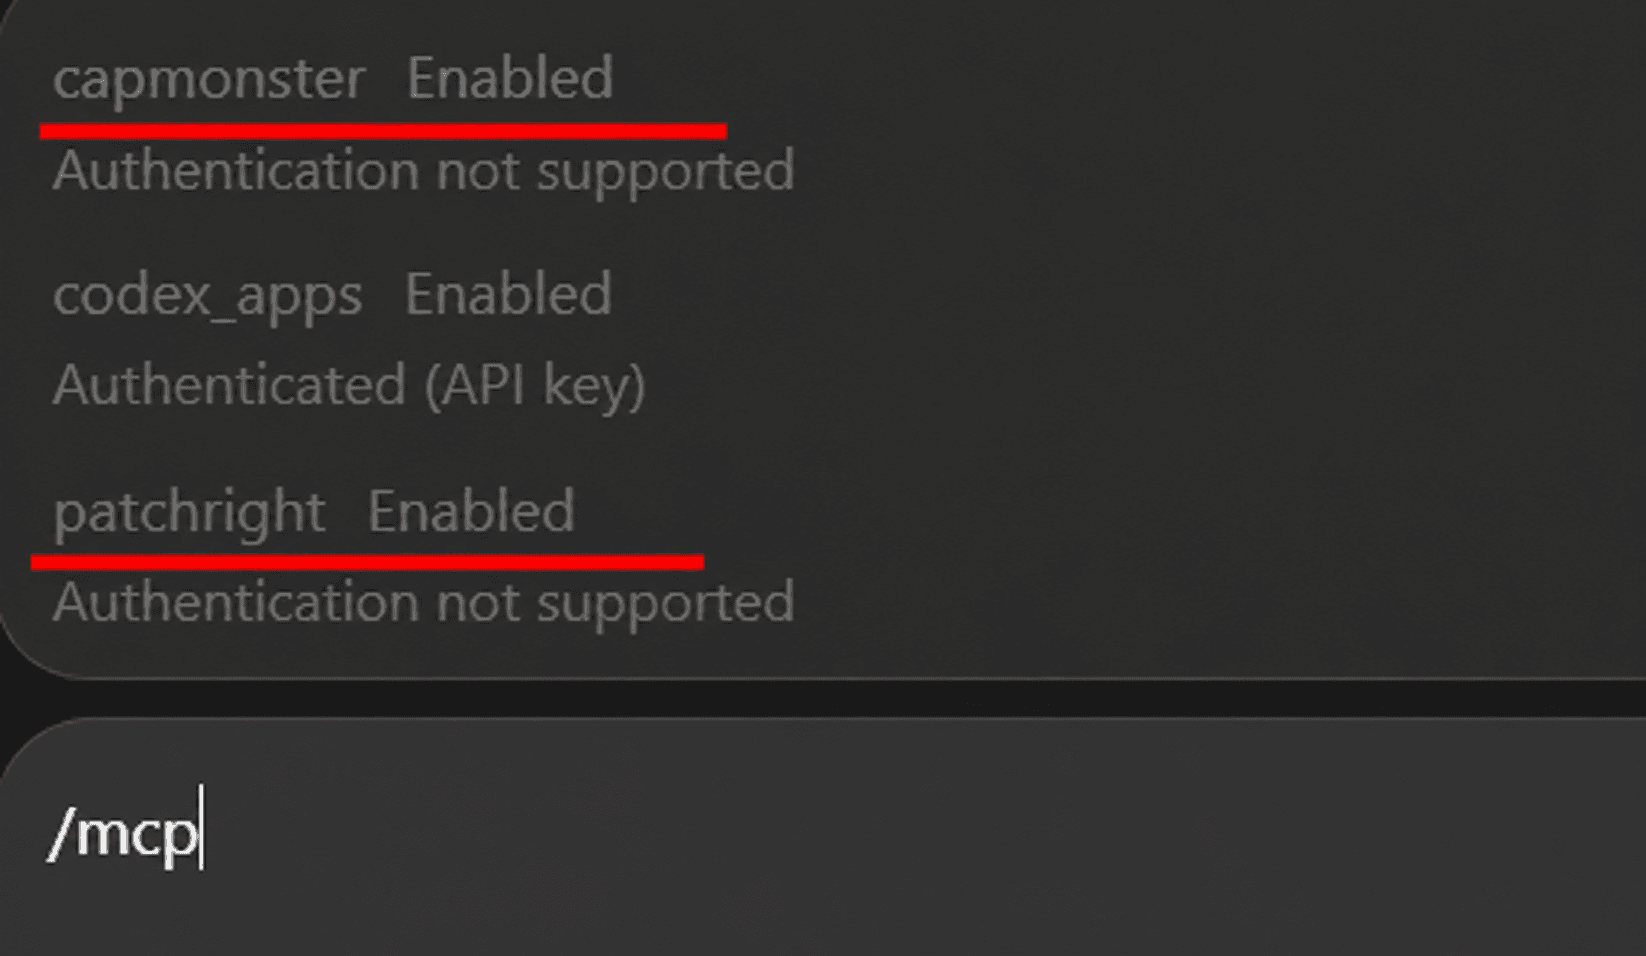
After launching ChatGPT Desktop, check that capmonster and patchright are available.
To do this, open a new chat, enter the /mcp command, and select Show MCP server status:
What to Do After Manual Setup
After connecting the MCP servers, send the AI agent the ready-to-use prompt for your environment – Python / PyPI or TypeScript / npm.
If capmonster and patchright are already configured, the agent will not connect them again. It will check that the servers and tools are available and continue using the existing configuration.
You only need to send the initial prompt once at the beginning of the working session. After that, you can simply provide new URLs and describe new tasks to the agent.
If the MCP Server Is Not Working
If the agent cannot see the server or its tools, check:
- whether the required runtime is installed – Node.js for npx, or Python and uv for uvx;
- whether the launch command is specified correctly;
- whether CM_API_KEY is set;
- whether the MCP configuration has been saved;
- whether the client was restarted after changing the settings.
On Windows, if npx does not start, try using npx.cmd.
Use MCP in Your Workflows
After setting up CapMonster Cloud MCP, you can use an AI agent to work with CAPTCHA in real-world scenarios: provide a page, retrieve the required parameters, send a task to CapMonster Cloud, and use the result in further automation.
You only need to complete the setup once. After that, you can adapt your requests and workflows to a specific website, CAPTCHA type, and technology stack.
Frequently Asked Questions

Useful Links
- CapMonster Cloud MCP documentation – setup instructions, ready-to-use prompts, and a description of the available tools.
- capmonster-mcp on GitHub – source code of the CapMonster Cloud MCP server.
- capmonster-mcp on npm – TypeScript / npm package.
- capmonster-mcp on PyPI – Python / PyPI package.
- capmonster-mcp-patchright on GitHub – source code of the browser MCP server.
- capmonster-mcp-patchright on npm – npm package for browser interaction.