


reCAPTCHA v2 API Integration: How to Connect and Use
reCAPTCHA v2 API integration is a standard security task for web developers in 2026. Google's reCAPTCHA v2 works in two variants: the familiar "I'm not a robot" checkbox, and an invisible mode that triggers silently in the background. In both cases, the mechanism is the same — a client-side widget generates a one-time token, and your server verifies it against Google's siteverify API before processing the request.
This guide covers the full integration path: site registration, HTML widget embedding, server-side token verification, and common error handling. It also addresses the automation side — what to do when reCAPTCHA v2 appears in workflows that can't involve a human. For a broader overview, start with our reCAPTCHA v2 solver page.
Expert Take — Vladlen Vlasov, Development and Web Security Expert
"reCAPTCHA v2 integration details still matter in 2026 precisely because the widget is so widely deployed. Getting the server-side verification step wrong — or skipping it entirely — is still one of the most common security issues I see on developer forums. The client-side widget is only half the story."
What Is reCAPTCHA v2 and How Does It Work?
reCAPTCHA v2 is a CAPTCHA service from Google that distinguishes human users from automated bots. It works in two phases: a client-side phase where the browser renders the widget and generates a response token upon user interaction, and a server-side phase where your backend verifies that token with Google's API.
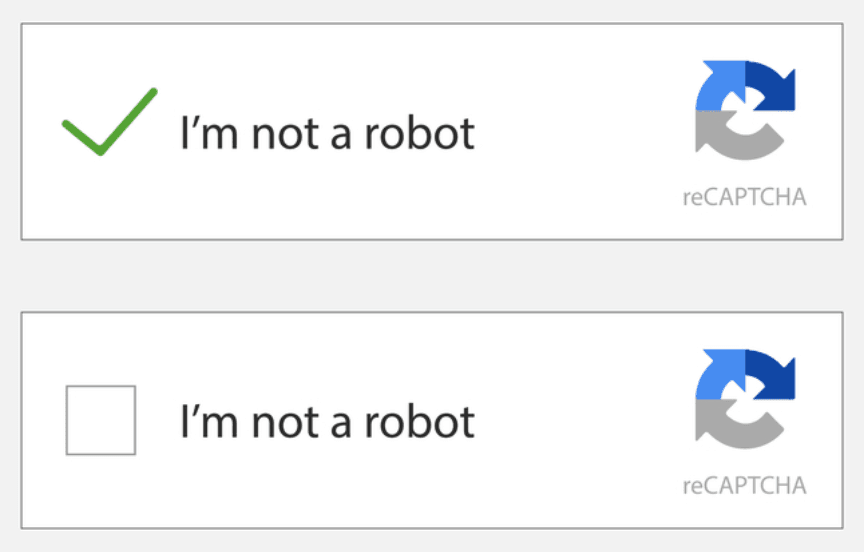
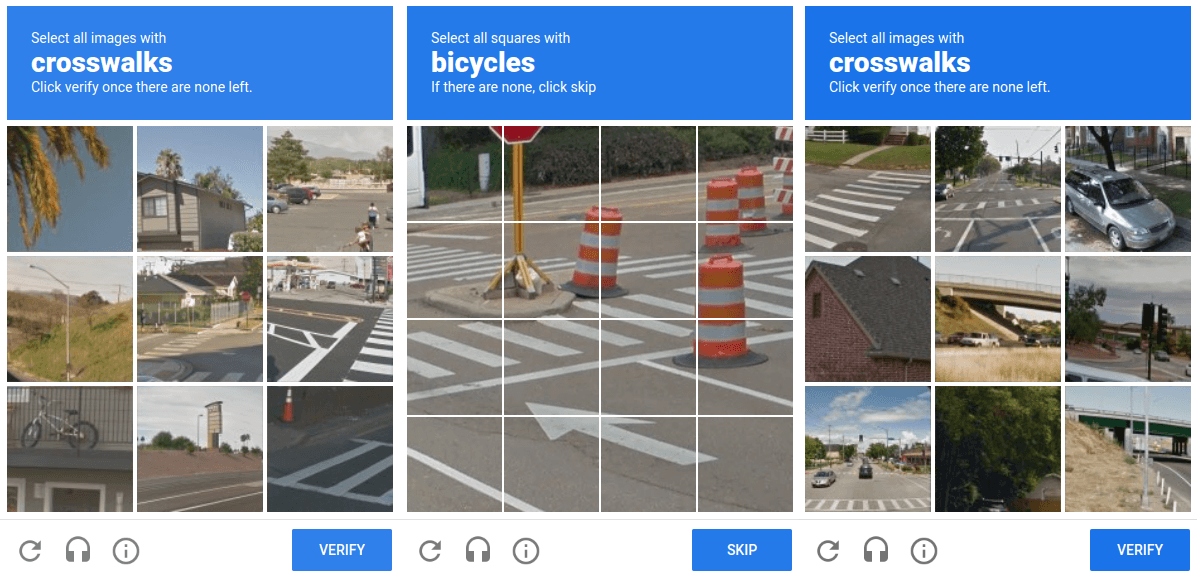
The checkbox variant asks the user to click "I'm not a robot." Google's risk analysis engine runs in the background; if the score is borderline, an image challenge is presented. The invisible variant skips the visible checkbox and fires automatically on a configured action, usually form submission, showing a challenge only when the risk score demands it.
Understanding the difference between v2 and its siblings matters for integration decisions. See reCAPTCHA v2 vs v3 vs Enterprise: Key Differences for a detailed technical breakdown.
Prerequisites Before You Integrate reCAPTCHA v2
Before you start coding, you need two things from Google: a Site Key and a Secret Key.
Registering Your Site
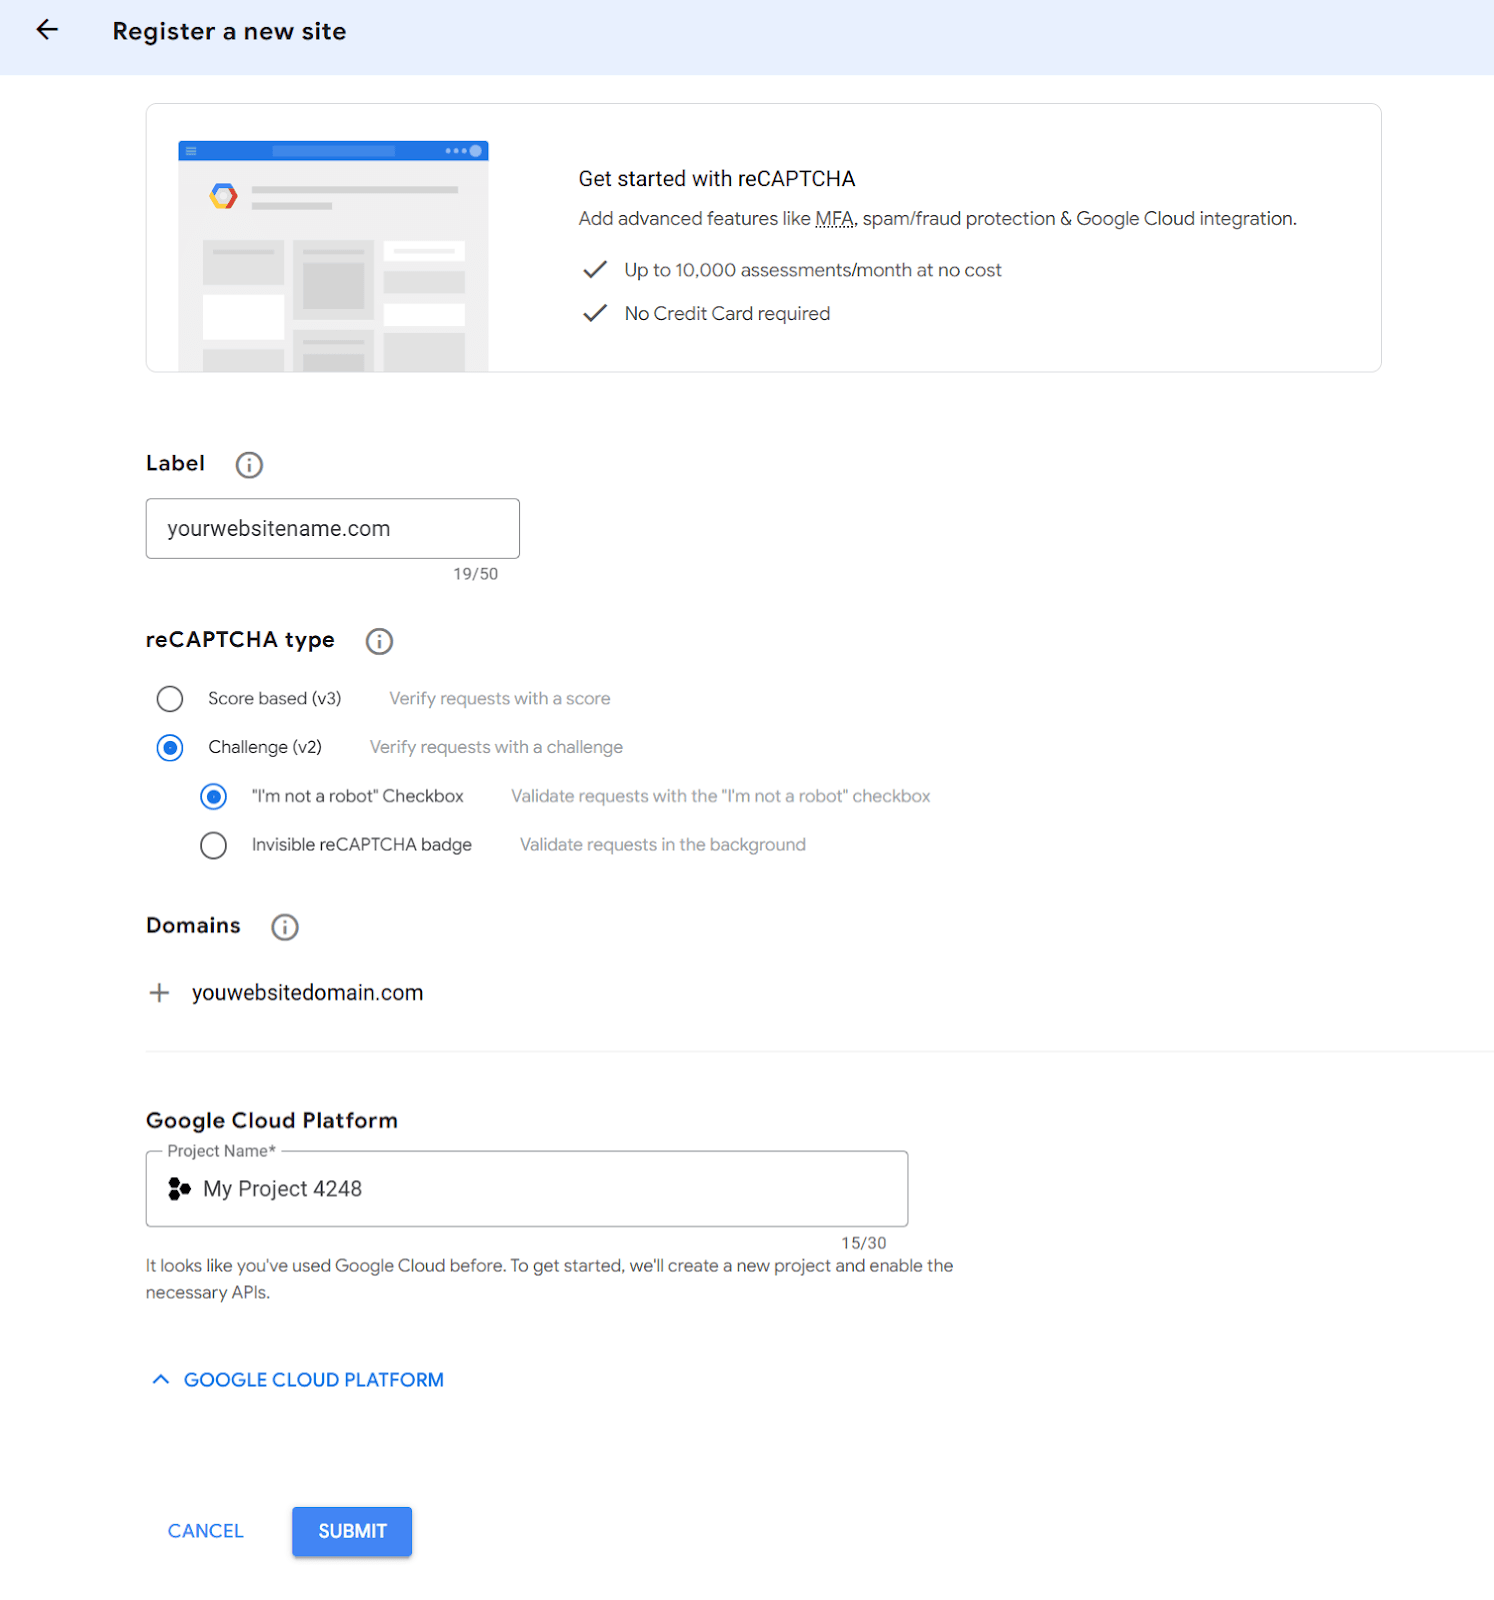
- Go to google.com/recaptcha/admin/create and sign in with a Google account.
- Enter a label, select reCAPTCHA v2, and choose the checkbox or invisible variant.
- Add your domain under Domains. Add localhost if you're testing locally.
- Select an existing Google Cloud Platform project or create a new one. reCAPTCHA Classic was migrated to GCP in early 2026, so all keys are now scoped to a GCP project.
- Accept the Terms of Service and click Submit.
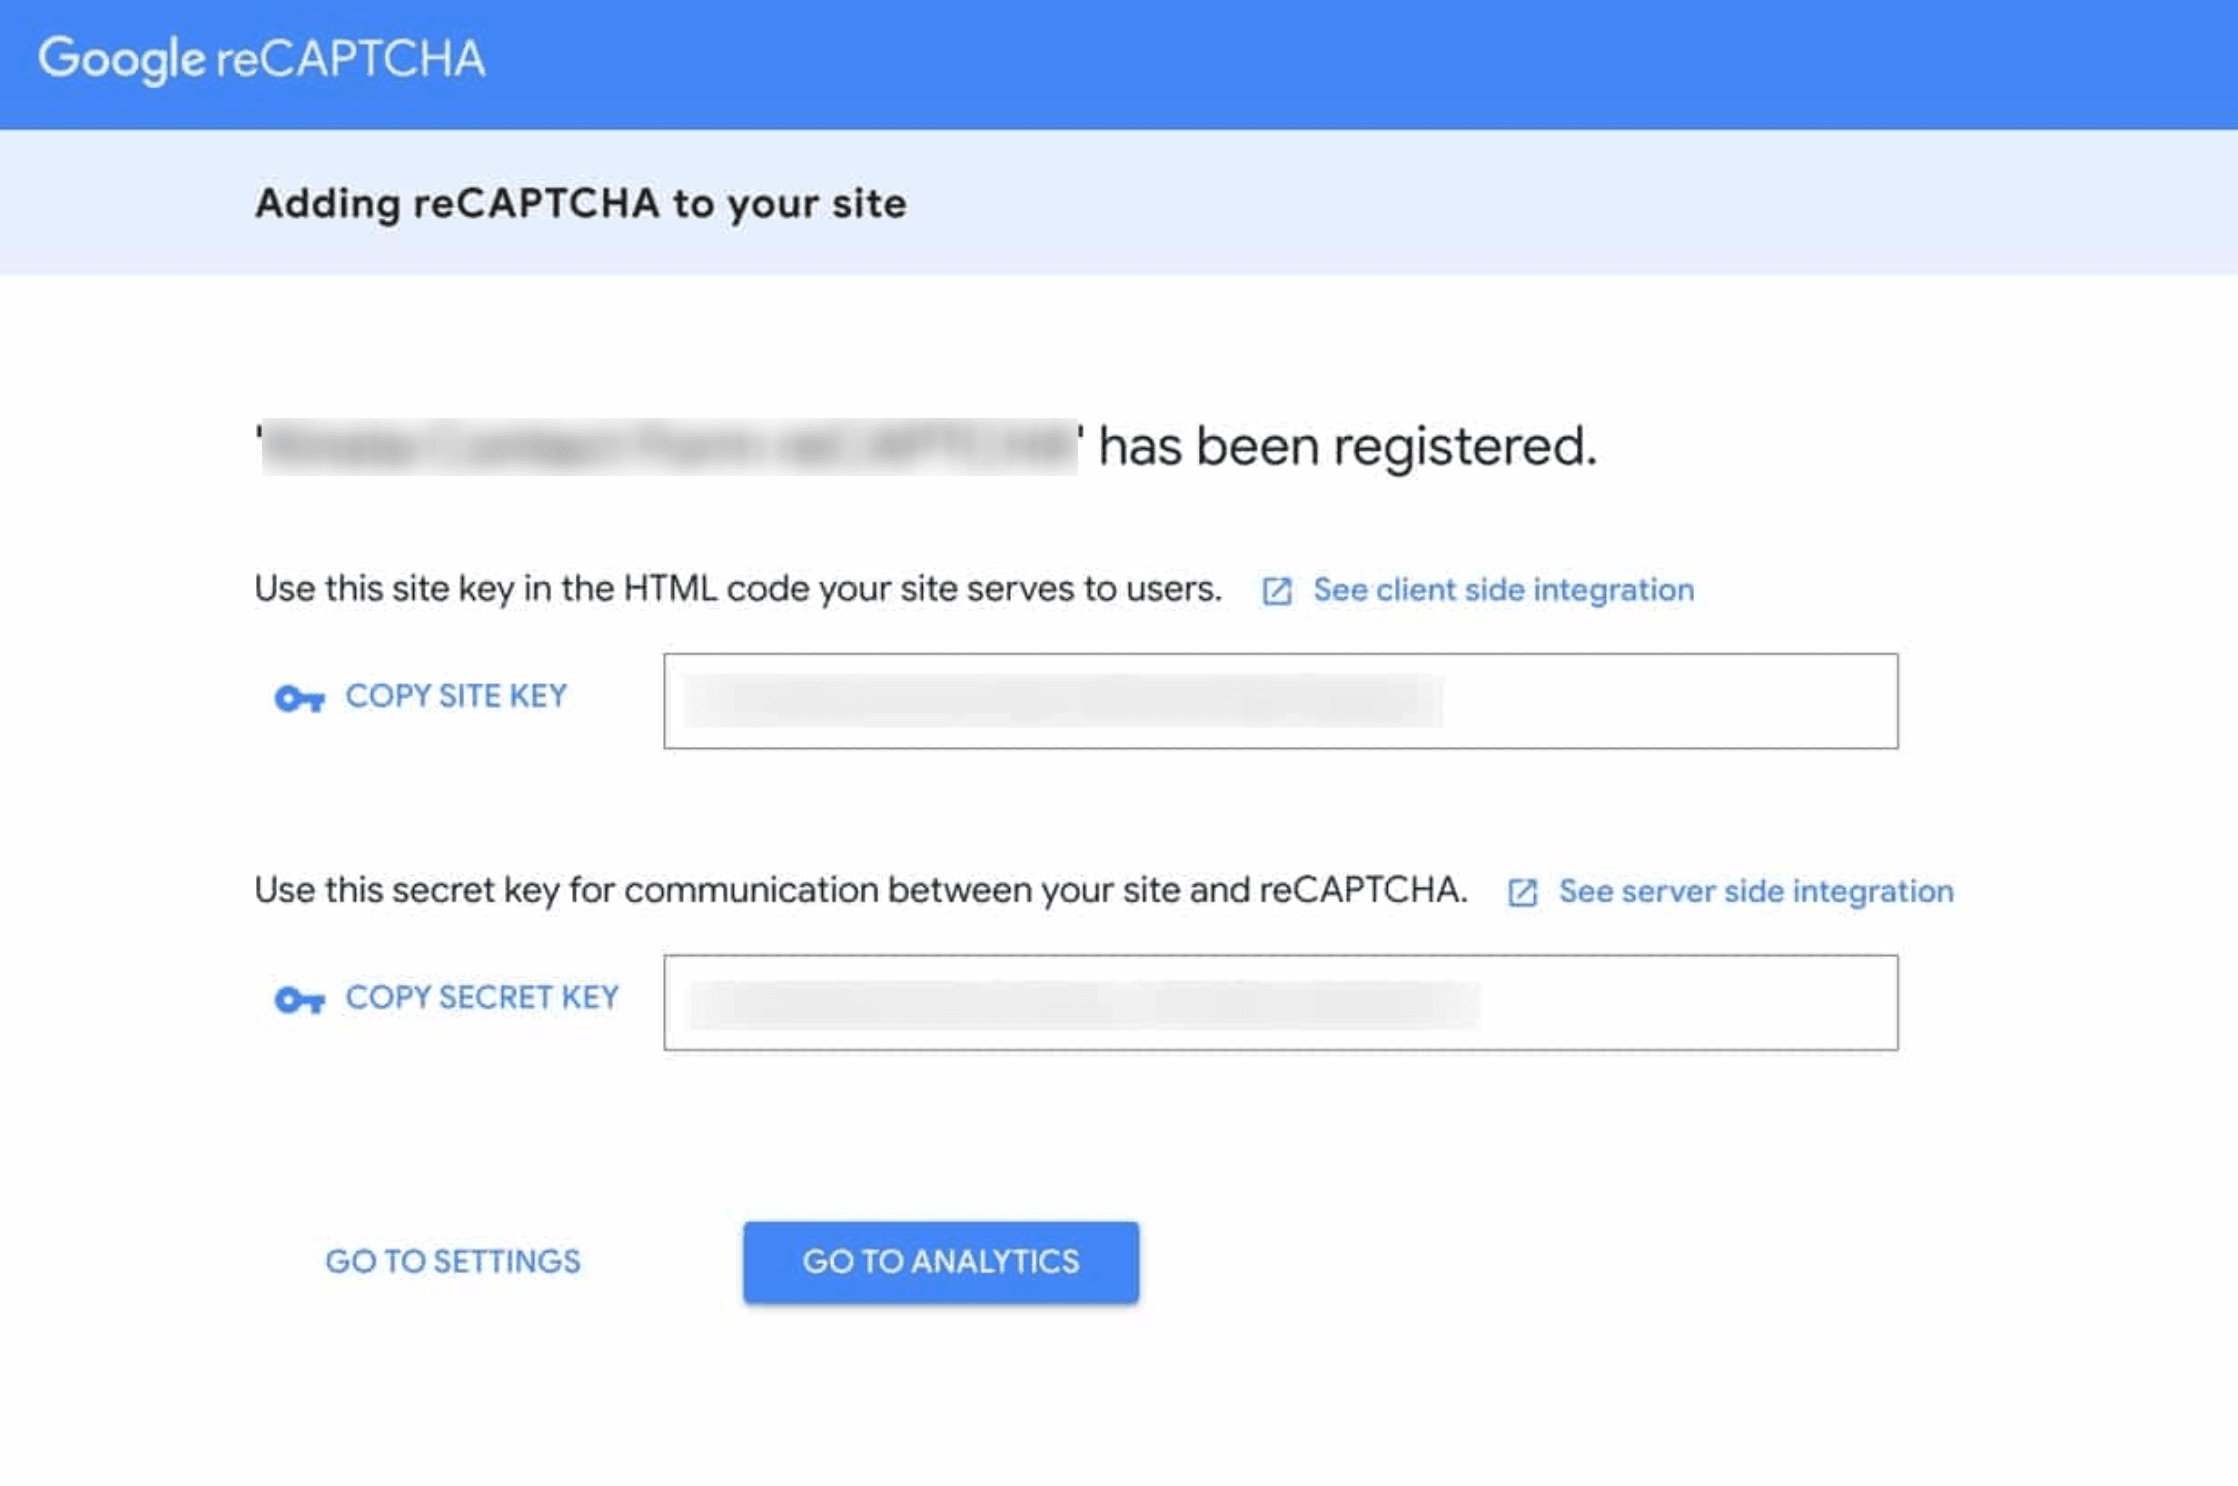
Google will display two keys:
- Site Key — public, embedded in your HTML.
- Secret Key — private, used only on your server. Never expose it in client-side code.
You need HTTPS in production. reCAPTCHA can work over HTTP on localhost during development, but live deployments require a secure connection and outbound HTTPS access to www.google.com for verification.
Adding reCAPTCHA v2 to Your HTML Form
Loading the reCAPTCHA Script
Place the following script tag in the <head> of your page, or just before the closing </body> tag:
<script src="https://www.google.com/recaptcha/api.js" async defer></script>The async defer attributes prevent the script from blocking page rendering.
Placing the Widget with data-sitekey
For the standard checkbox variant, add a div inside your form with the g-recaptcha class and your Site Key:
<form method="POST" action="/submit">
  *<!-- your form fields -->*
  <div class="g-recaptcha" data-sitekey="YOUR_SITE_KEY"></div>
  <button type="submit">Submit</button>
</form>
When the page loads, Google's script replaces this div with the interactive widget. On successful interaction, it populates a hidden input named g-recaptcha-response that is submitted with the form.
Invisible Variant Setup
The invisible variant attaches to your submit button rather than rendering a visible widget:
<form method="POST" action="/submit">
  *<!-- your form fields -->*
  <button
    class="g-recaptcha"
    data-sitekey="YOUR_SITE_KEY"
    data-callback="onSubmit"
    data-action="submit"
    type="submit">
    Submit
  </button>
</form>

<script>
  function onSubmit(token) {
    document.getElementById('your-form-id').submit();
  }
</script>
The data-callback function receives the token and triggers the actual form submission. Without this callback, the form will not submit after reCAPTCHA completes.
Server-Side Verification with the siteverify API
Embedding the widget is only the first half of a secure reCAPTCHA v2 integration. You must verify the token on your server. A token that is never verified provides no bot protection.
The flow is straightforward: the user interacts with the widget → Google returns a g-recaptcha-response token to the browser → the token is submitted to your server with the form → your server POSTs the token and your Secret Key to https://www.google.com/recaptcha/api/siteverify → Google responds with a JSON result.
POST Request to siteverify
The verification endpoint accepts a POST request with two required parameters:
| Parameter | Description |
| secret | Your Secret Key |
| response | The g-recaptcha-response token from the client |
| remoteip (optional) | The user's IP address |
Parsing the JSON Response and Handling Errors
A successful verification returns:
{
  "success": true,
  "challenge_ts": "2026-06-17T10:00:00Z",
  "hostname": "yourdomain.com",
  "error-codes": []
}
A failed verification returns "success": false and one or more error codes:
| Error Code | Meaning |
| missing-input-secret | Secret Key parameter not sent |
| invalid-input-secret | Secret Key is incorrect or malformed |
| missing-input-response | Token not submitted by the client |
| invalid-input-response | Token is invalid or malformed |
| timeout-or-duplicate | Token expired or already used |
Always check success === true before proceeding. Do not rely on the absence of error codes alone.
PHP Server-Side Verification Example
The following example shows complete server-side verification functions. Replace $YOUR_SECRET_KEY with your actual Secret Key.
<?php
declare(strict_types=1);
function verifyRecaptchaV2(
    string $token,
    string $YOUR_SECRET_KEY,
    ?string $remoteIp = null
): array {
    if ($token === "") {
        return [
            "ok" => false,
            "message" => "reCAPTCHA token was not received.",
            "data" => null,
        ];
    }
    $postFields = [
        "secret" => $YOUR_SECRET_KEY,
        "response" => $token,
    ];
    if ($remoteIp !== null && $remoteIp !== "") {
        $postFields["remoteip"] = $remoteIp;
    }
    $ch = curl_init("https://www.google.com/recaptcha/api/siteverify");
    curl_setopt_array($ch, [
        CURLOPT_RETURNTRANSFER => true,
        CURLOPT_POST => true,
        CURLOPT_POSTFIELDS => http_build_query($postFields),
        CURLOPT_TIMEOUT => 10,
        CURLOPT_CONNECTTIMEOUT => 5,
        CURLOPT_SSL_VERIFYPEER => true,
        CURLOPT_SSL_VERIFYHOST => 2,
    ]);
    $responseBody = curl_exec($ch);
    $curlError = curl_error($ch);
    $httpCode = (int) curl_getinfo($ch, CURLINFO_RESPONSE_CODE);
    curl_close($ch);
    if ($responseBody === false || $curlError !== "") {
        return [
            "ok" => false,
            "message" => "Failed to send a request to Google reCAPTCHA.",
            "data" => null,
        ];
    }
    if ($httpCode < 200 || $httpCode >= 300) {
        return [
            "ok" => false,
            "message" => "Google reCAPTCHA returned an unexpected HTTP status.",
            "data" => null,
        ];
    }
    $data = json_decode($responseBody, true);
    if (!is_array($data)) {
        return [
            "ok" => false,
            "message" => "Failed to parse the Google reCAPTCHA response.",
            "data" => null,
        ];
    }
    if (!empty($data["success"])) {
        return [
            "ok" => true,
            "message" => "reCAPTCHA verification passed successfully.",
            "data" => $data,
        ];
    }
    $errors =
        isset($data["error-codes"]) && is_array($data["error-codes"])
            ? implode(", ", $data["error-codes"])
            : "unknown_error";
    return [
        "ok" => false,
        "message" => "reCAPTCHA verification failed: " . $errors,
        "data" => $data,
    ];
}
Using reCAPTCHA v2 in JavaScript
After integrating reCAPTCHA v2, you can interact with the widget directly through the JavaScript API. The table below covers the key methods and callbacks.
| Method / Callback | Purpose |
| grecaptcha.render() | Render the widget manually into a container element |
| grecaptcha.getResponse() | Get the current response token (empty string if not yet solved) |
| grecaptcha.reset() | Reset the current challenge so the user can solve it again |
| callback | Fires when the user successfully completes the challenge; receives the token |
| expired-callback | Fires when a solved token expires before submission |
Practical JavaScript Examples
Get the generated token:
const token = grecaptcha.getResponse();Reset the widget after a failed request:
grecaptcha.reset();Render the widget dynamically (useful in SPAs or when the container is injected after page load):
function onSolved(token) {
  document.querySelector('textarea[name="g-recaptcha-response"]').value = token;
  document.getElementById('contact-form').submit();
}
grecaptcha.render('captcha-container', {
  sitekey: 'YOUR_SITE_KEY',
  callback: onSolved,
  'expired-callback': () => grecaptcha.reset(),
});
Check whether the user has completed the challenge before submitting:
if (!grecaptcha.getResponse()) {
  alert('Complete the CAPTCHA first.');
  return;
}
The expired-callback is easy to miss: if the user solves the challenge but waits more than two minutes before submitting, the token silently expires. Without this handler, your form will submit an invalid token and fail server-side verification with timeout-or-duplicate.
Common Integration Errors and How to Fix Them
Even a straightforward reCAPTCHA v2 integration can break in predictable ways.
| Problem | Likely Cause | Fix |
| Widget does not render | Script tag missing or blocked by CSP | Add https://www.google.com to your CSP script-src and frame-src |
| invalid-input-secret on verify | Secret Key is wrong or from the wrong project | Check the Admin Console and confirm you're using the correct Secret Key |
| timeout-or-duplicate | Token older than \~2 minutes, or submitted twice | Re-prompt the user and never reuse a token |
| invalid-input-response | Token not forwarded to server | Log req.body['g-recaptcha-response'] to confirm it reaches your handler |
| Domain mismatch error in console | Domain not registered in Admin Console | Add the exact domain in the reCAPTCHA Admin settings |
| Widget breaks on SPA route change | Widget not re-rendered after DOM manipulation | Call grecaptcha.render() or reset with grecaptcha.reset() |
| missing-input-response on AJAX forms | Token field not included in AJAX payload | Read grecaptcha.getResponse() and append it to your fetch or XHR body |
Never treat a missing token as a passed check. If g-recaptcha-response is absent, reject the request immediately.
reCAPTCHA v2 for Automation: The Solver API Approach
You’ve just added reCAPTCHA v2 to your site — now it’s time to test how it behaves in practice. Instead of solving the challenge manually on every check, you can send your reCAPTCHA’s public parameters to CapMonster Cloud, receive a valid token, and use it to test different scenarios in your integration.
The CapMonster Cloud reCAPTCHA v2 solving API follows a four-step pattern:
- Submit a task with the target page URL and sitekey.
- Poll for the result.
- Insert the returned token into g-recaptcha-response.
- Submit the form before the token expires.
CapMonster Cloud offers a reCAPTCHA v2 solver API that follows this token-return pattern.
For a practical walkthrough, see How to Solve reCAPTCHA v2 in 2026: Working Methods.
Key Insight — Vladlen Vlasov, Development and Web Security Expert
"The developer adding reCAPTCHA to a site and the automation engineer encountering it in a pipeline are solving mirror-image problems. Understanding both sides makes you better at each: a tighter server-side integration is harder to bypass, and a well-structured solver API integration is more reliable when tokens expire or pages change."
FAQ
Conclusion
A correct reCAPTCHA v2 API integration requires two parts: a working client-side widget and a server-side siteverify check that actually gates request handling. For most projects, the checkbox variant is the safest starting point — easier to implement, simpler to debug, and clearer for users. The invisible variant makes sense when reducing friction is a measurable priority and your callback flow is solid. If your automation workflows need to handle reCAPTCHA v2 programmatically, the token-injection model is straightforward — the main constraint is token lifetime, so fetch and submit quickly.
Get reCAPTCHA v2 Tokens for Your Automation Pipelines
If your automation workflows encounter reCAPTCHA v2 at scale, manual solving does not hold up. CapMonster Cloud provides a reCAPTCHA v2 solver API that fits the same integration pattern described in this guide — send the sitekey and page URL, receive a ready-to-use token.
- Compatible with browser automation and direct HTTP workflows
- Simple API pattern for task creation and result retrieval
- Built for reCAPTCHA-related automation use cases
Explore the supported reCAPTCHA v2 workflow on the reCAPTCHA v2 overview page.


")