How to Implement reCAPTCHA API: Step-by-Step Guide for React Developers
The reCAPTCHA API by Google provides developers with powerful tools to protect websites from spam and abuse while maintaining a seamless user experience.
This step-by-step guide shows you how to set up reCAPTCHA from beginning to end. You'll learn the key differences between reCAPTCHA v2 and v3. The guide walks you through setting up API keys in the Google reCAPTCHA Admin Console and adding frontend components in React. We'll also cover backend verification steps. Once you're done, you'll know exactly how to protect your web applications with a properly configured reCAPTCHA system.

Understanding reCAPTCHA API and Key Concepts
Understanding core concepts and different versions of reCAPTCHA API creates a strong foundation for implementation. Google provides this technology as a vital layer of security to help websites distinguish between human users and automated bots.
Overview of Google reCAPTCHA v2 and v3
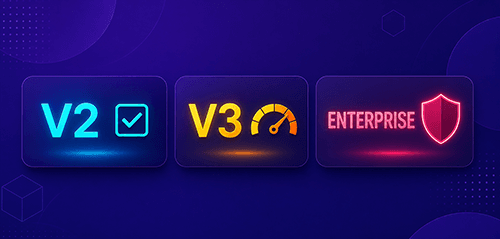
Google offers reCAPTCHA in two main versions (v2 and v3), plus an Enterprise edition for advanced protection. Each version works differently:
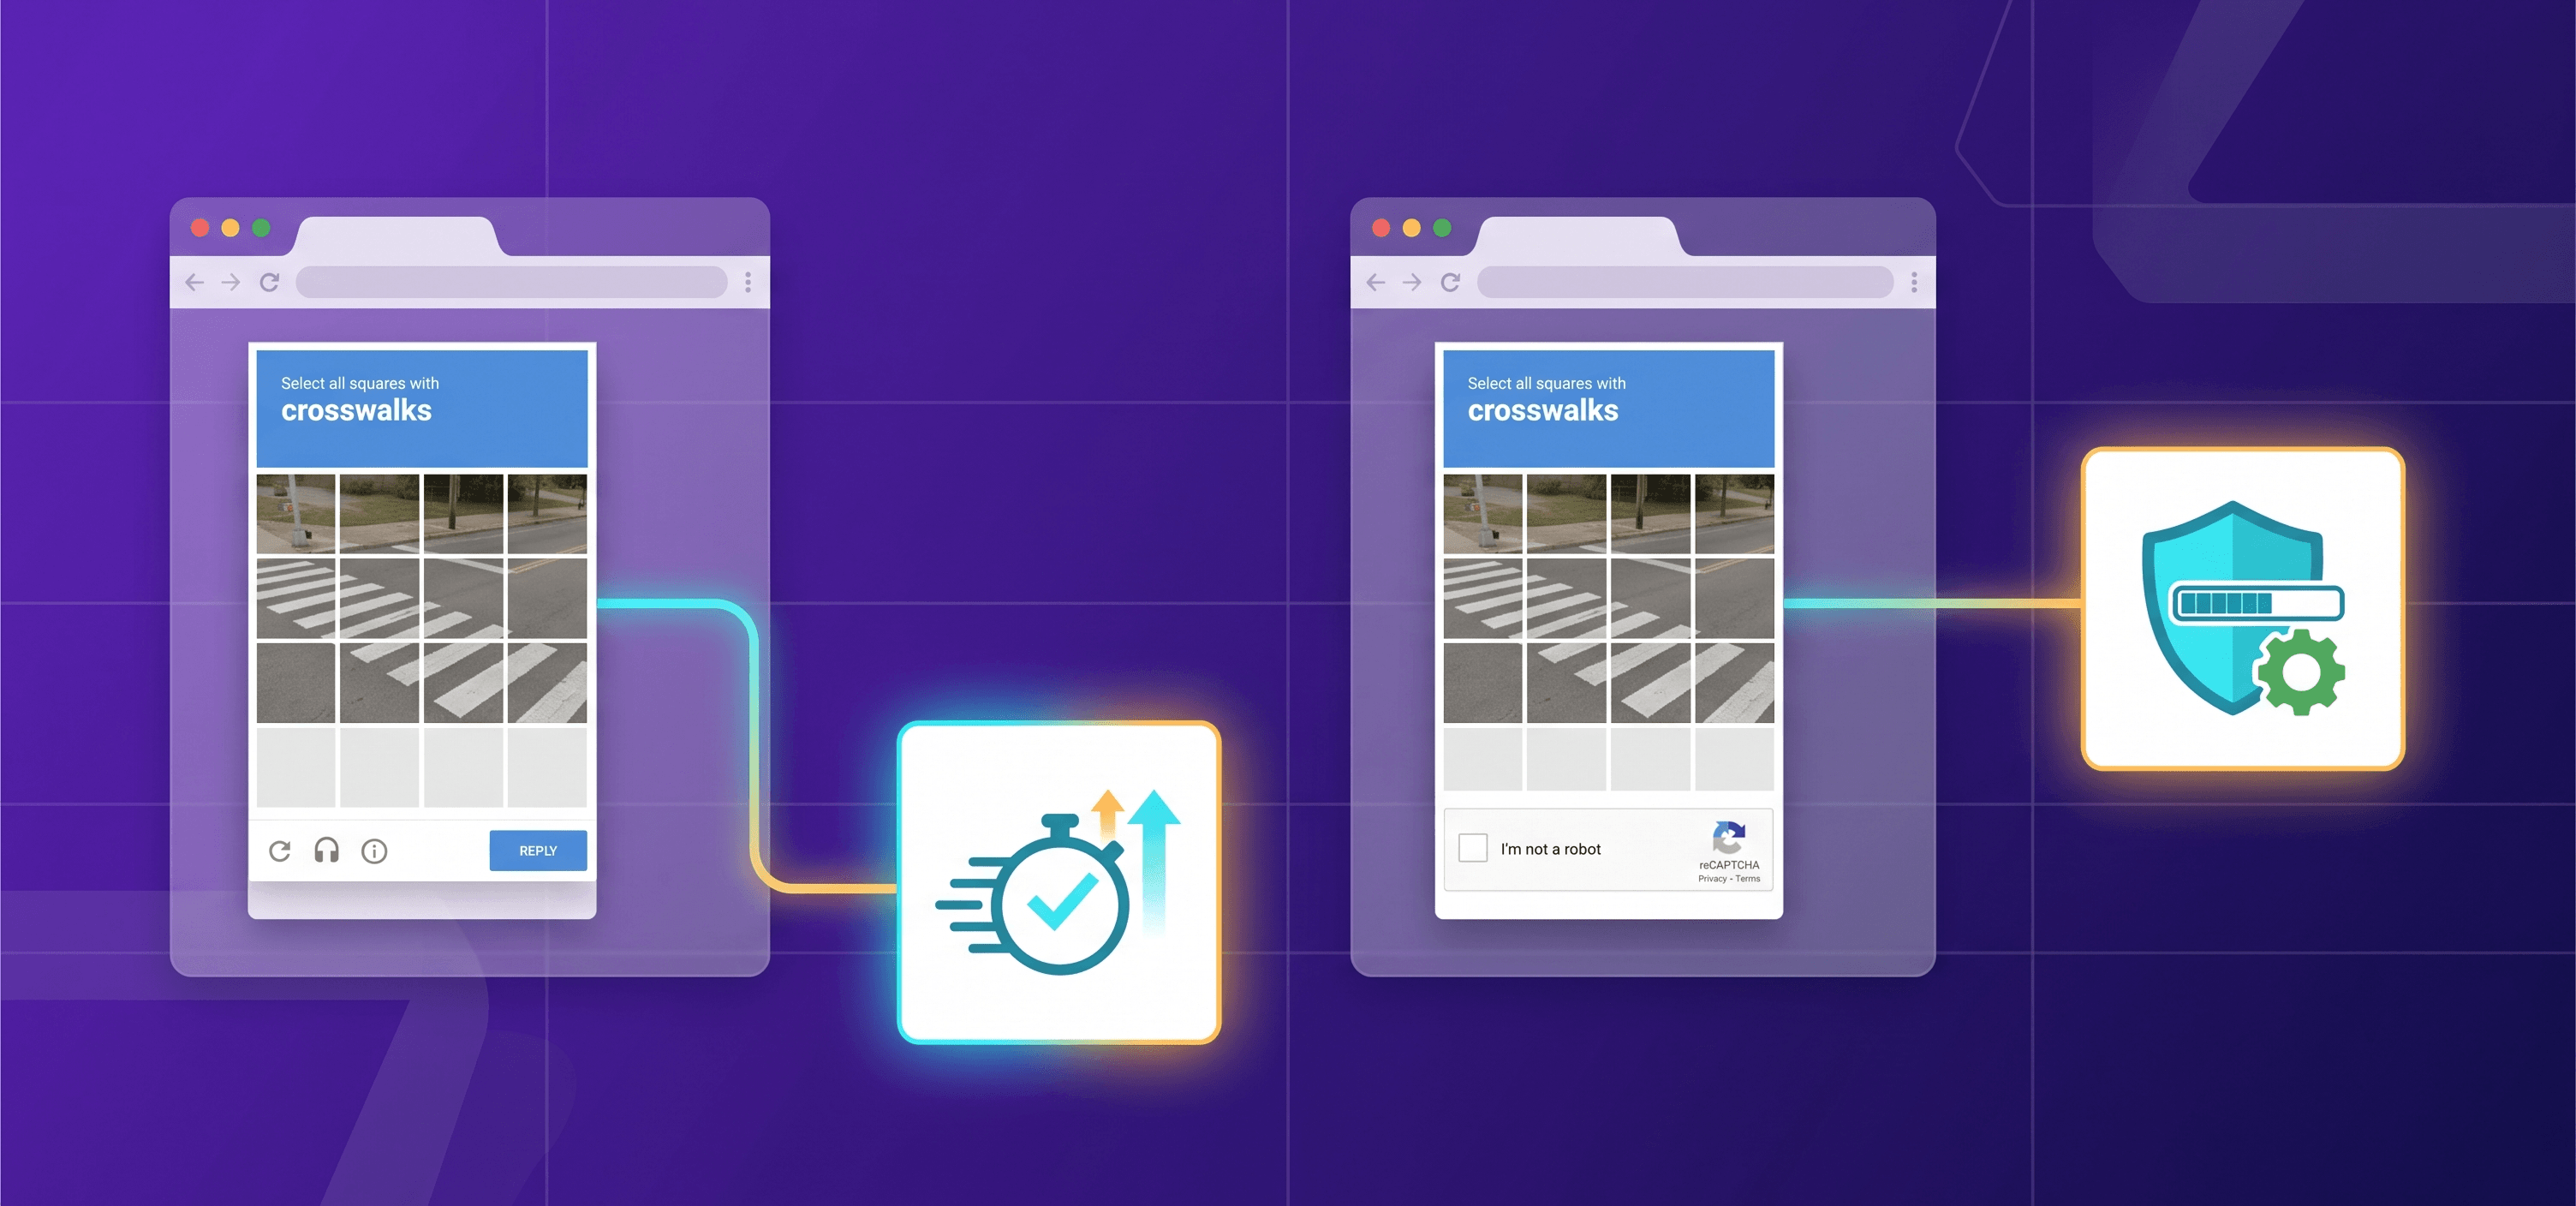
- reCAPTCHA v2 needs users to interact directly through the familiar "I'm not a robot" checkbox. The system might show visual challenges that ask users to identify specific objects in images when it detects suspicious activity.
- reCAPTCHA v3 runs silently in the background without any user interaction. Rather than interrupting users with challenges, it monitors their behavior and gives each interaction a risk score.
Both versions need a key pair - a site key for frontend implementation and a secret key for backend verification.
How reCAPTCHA protects against bots
reCAPTCHA acts as a turing test to tell humans and automated systems apart. The protection system uses these components:
- Risk Analysis Engine - A sophisticated and adaptable system analyzes user behavior to spot potentially malicious activity.
- Score-Based Detection - v3 assigns risk scores based on behavior patterns. Site owners can take custom actions based on these scores.
- Global Intelligence - The system uses Google-scale fraud intelligence gathered from and billions of users across millions of websites trillions of transactions.
reCAPTCHA might present challenges or block interactions completely when it spots suspicious activity. This protects sites while minimizing disruption for real users.
Choosing between reCAPTCHA v2 and v3 for your use case
Your specific requirements should guide your choice between v2 and v3:
Choose v2 when:
- You want visible confirmation of human presence
- Your site needs explicit verification points (such as form submissions)
- You prefer traditional challenge-response mechanisms
Choose v3 when:
- User experience matters most and you want to avoid interruptions
- You need detailed risk scoring for custom security policies
- Your site has multiple interaction points needing monitoring
Your technical implementation capabilities and security requirements should also play a key role in this decision.
Setting Up reCAPTCHA API Keys and Configuration
You'll need to get your credentials from Google to start setting up the reCAPTCHA API. Let's walk through the process of registering your site and getting the required keys.
Registering your site on Google reCAPTCHA Admin Console
Here's how you can register your site on the Google reCAPTCHA Admin Console:
- Visit the Google reCAPTCHA Admin Console
- Sign in with your Google account credentials
- Click "+" or the "Register a new site" button
- Enter a descriptive label to identify your site easily
- Select the appropriate reCAPTCHA type (v2 or v3) based on your needs
- Add your domain(s) where reCAPTCHA will be used
- Accept the Terms of Service
- Click "Submit" to complete registration
Generating site key and secret key
Google will generate two keys after you register:
- Site Key: You'll use this on the frontend to show the reCAPTCHA widget
- Secret Key: Your server needs this to verify user responses
These keys work as a pair to protect your site. The site key tells Google's reCAPTCHA service which website is yours, while the secret key lets your backend talk securely with Google's servers to verify responses.
Storing secret keys securely using .env files
Your secret key is vital for verification requests. You should never put this key in your source code or show it in client-side code.
The best way to store these keys is as environment variables in .env files:
# .env file
GOOGLE_RECAPTCHA_KEY=your_site_key_here GOOGLE_RECAPTCHA_SECRET=your_secret_key_here
Your application can then access these variables:
- In Node.js: process.env.GOOGLE_RECAPTCHA_KEY
- In PHP: $_ENV['GOOGLE_RECAPTCHA_KEY']
Make sure to add your .env files to .gitignore so you don't accidentally commit sensitive information to your repository.
You can always go back to the Admin Console to change settings like domains or security priorities later.
Frontend Integration with reCAPTCHA v2 in React
The next significant step after getting your API keys is to integrate reCAPTCHA v2 into your React application. This frontend setup makes your website display the verification challenge to users effectively.
Installing react-google-recaptcha via npm
Your project needs the specialized React component for Google reCAPTCHA v2. Run this command in your terminal:
npm install --save react-google-recaptchaThis package provides a React component specifically designed to integrate reCAPTCHA v2.
Rendering the ReCAPTCHA component with site key
The component needs to be imported into your form file after installation:
import ReCAPTCHA from "react-google-recaptcha";
import { useRef } from "react";

function ContactForm() {
 const captchaRef = useRef(null);

 return (
   <form>
     {/* Form fields */}
     <ReCAPTCHA
       sitekey={process.env.REACT_APP_SITE_KEY}
       ref={captchaRef}
     />
     <button type="submit">Submit</button>
   </form>
 );
}
The sitekey prop links your component to your previously generated API key.
Handling token with onChange callback
ReCAPTCHA creates a response token that you need to send to your backend when verification succeeds:
function onChange(value) {
    console.log("Captcha value:", value);
    // Store token or submit form
}

// Add to component props
<
ReCAPTCHA
sitekey = {
    process.env.REACT_APP_SITE_KEY
}
onChange = {
    onChange
}
ref = {
    captchaRef
}
/>
The token needs to be retrieved and reset during form submission:
const handleSubmit = (e) => {
 e.preventDefault();
 const token = captchaRef.current.getValue();
 captchaRef.current.reset(); // Reset after use
 // Send token to backend
}
Using 'hl' parameter for internationalization
The widget language can be customized with the hl prop for multilingual sites:
<ReCAPTCHA
 sitekey={process.env.REACT_APP_SITE_KEY}
 onChange={onChange}
 hl="fr" // French language
/>
Language codes help render the widget in specific languages and enhance your international users' experience.
Backend Verification with Google reCAPTCHA API
The backend must check a reCAPTCHA token's authenticity after the frontend captures it. This verification step determines if users can proceed with their intended actions.
POST request to https://www.google.com/recaptcha/api/siteverify
Your backend needs to send a POST request to Google's verification endpoint to check a token. The request needs two main parameters:
POST Parameters: https://www.google.com/recaptcha/api/siteverify
- secret: Your reCAPTCHA secret key
- response: The token received from frontend
- remoteip: (Optional) User's IP address
The endpoint works with both GET and POST requests, but POST offers better security.
Validating token using secret key
You should never expose your secret key. The best practice is to store it in environment variables instead of your application code:
// Node.js example
const verifyRecaptcha = async (token) => {
 const response = await fetch('https://www.google.com/recaptcha/api/siteverify', {
   method: 'POST',
   headers: { 'Content-Type': 'application/x-www-form-urlencoded' },
   body: new URLSearchParams({
     secret: process.env.RECAPTCHA_SECRET,
     response: token
   }).toString()
 });
 return await response.json();
};
Using URLSearchParams ensures that all parameters are properly URL-encoded, preventing errors when handling special characters in the token.
Handling success and failure responses
The API returns a JSON object, the structure of which differs for v2 and v3.
For reCAPTCHA v2:
- success: Boolean value indicating the verification status
- challenge_ts: Verification timestamp
- hostname: Website where reCAPTCHA was solved
- error-codes: Array of error messages (if applicable)
For reCAPTCHA v3 (in addition to the v2 fields):
- score: A value from 0.0 to 1.0 indicating the legitimacy of the interaction (where 1.0 means a high probability of a legitimate user)
- action: Action name specified when generating the token
Example of response processing for v2:
const result = await verifyRecaptcha(token);
if (result.success) {
 // Proceed with form processing
} else {
 // Handle verification failure
 console.error('Verification failed:', result['error-codes']);
}
Example of response processing for v3 with score verifying:
const result = await verifyRecaptcha(token);
if (result.success && result.score > 0.5 && result.action === 'login') {
 // Proceed with form processing
} else if (result.success && result.score <= 0.5) {
 // Low score - possible bot
 console.warn('Low score detected:', result.score);
} else {
 // Verification failed
 console.error('Verification failed:', result['error-codes']);
}
Error Code Handling:
The error-codes array can contain the following values:
- missing-input-secret: The secret parameter is missing
- invalid-input-secret: The secret parameter is invalid or incorrect
- missing-input-response: The response (token) parameter is missing
- invalid-input-response: The response parameter is invalid or has expired
- bad-request: The request is invalid or malformed
- timeout-or-duplicate: The token has already been used or has expired
Example of full processing with error-codes:
const result = await verifyRecaptcha(token);
if (result.success) {
 // Success - proceed with form processing
 return { verified: true };
} else {
 // Handle specific error codes
 const errors = result['error-codes'] || [];
 if (errors.includes('timeout-or-duplicate')) {
   return { verified: false, message: 'Token expired. Please try again.' };
 } else if (errors.includes('invalid-input-response')) {
   return { verified: false, message: 'Invalid verification token.' };
 } else if (errors.includes('missing-input-secret') || errors.includes('invalid-input-secret')) {
   console.error('Server configuration error:', errors);
   return { verified: false, message: 'Server error. Please contact support.' };
 } else {
   return { verified: false, message: 'Verification failed. Please try again.' };
 }
}
Token expiration and one-time use constraints
Each reCAPTCHA token lasts two minutes and works just once. The user experience improves with these token refresh strategies:
- Create new tokens right before form submission
- Set up automatic token refresh for longer forms
- Show friendly error messages when tokens expire
Testing reCAPTCHA with CapMonster Cloud
CapMonster Cloud provides automated reCAPTCHA solving for testing, QA, and development environments. The service solves reCAPTCHA v2, v3, and Enterprise versions programmatically via REST API, returning tokens your application accepts like real user tokens.
This enables comprehensive testing of protected forms, CI/CD pipelines, and load testing without manual solving. QA teams can validate implementations across different scenarios and score ranges, while developers test verification logic, error handling, and token expiration behavior.
CapMonster Cloud integrates through simple API calls, supporting popular frameworks like Selenium, Puppeteer, and Playwright. It eliminates constant CAPTCHA friction during development while validating your Google reCAPTCHA integration, accelerating development cycles before production deployment.
Example of reCAPTCHA v3 solving with Playwright and official Node.js library from CapMonster Cloud
Conclusion
Google reCAPTCHA API protects your websites against automated attacks and creates a better user experience. This piece shows you how to set up and merge this security tool from start to finish.
The key differences between reCAPTCHA v2 and v3 will help you choose the right version. V2 uses a visible checkbox interface for verification, while v3 quietly assigns risk scores without disrupting users.
Your implementation's foundation depends on proper API key setup. Experience shows that environment variables keep your secret keys secure and protect your verification system's integrity. These keys should never appear in your source code or repositories.
React applications need specific components to add reCAPTCHA. The backend verification process then completes the security loop by proving tokens right through Google's verification endpoint.
ReCAPTCHA tokens come with specific limits - they expire after two minutes and work only once. You need proper token management strategies to create a smooth user experience.
You now have everything you need to build a resilient reCAPTCHA solution. This approach will reduce bot traffic and automated abuse on your websites by a lot. Your legitimate users can still interact with your applications easily. This balanced security approach represents the perfect way to implement reCAPTCHA technology in today's bot-filled digital world.